DIY Chicken Waterer

The DIY Chicken Waterer is an automatic waterer designed to keep your chickens watered constantly. Trying to keep your chickens with clean water constantly is a hard chore to keep up with.

DIY Chicken Waterer

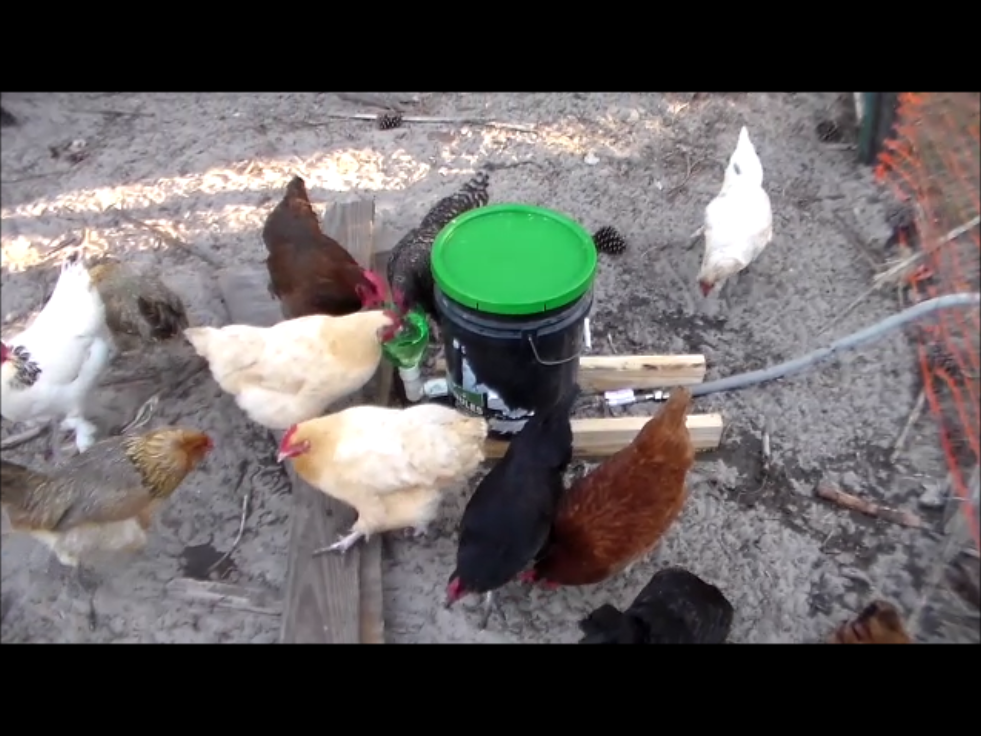
DIY Chicken Waterer in Action!

It is much easier to spend some time and build this DIY Automatic Chicken Waterer. It is not hard and I can supply all the parts if needed. Just send a message through Google Plus or Facebook.

DIY Chicken Waterer 2 years ago

Automatic Chicken Waterer
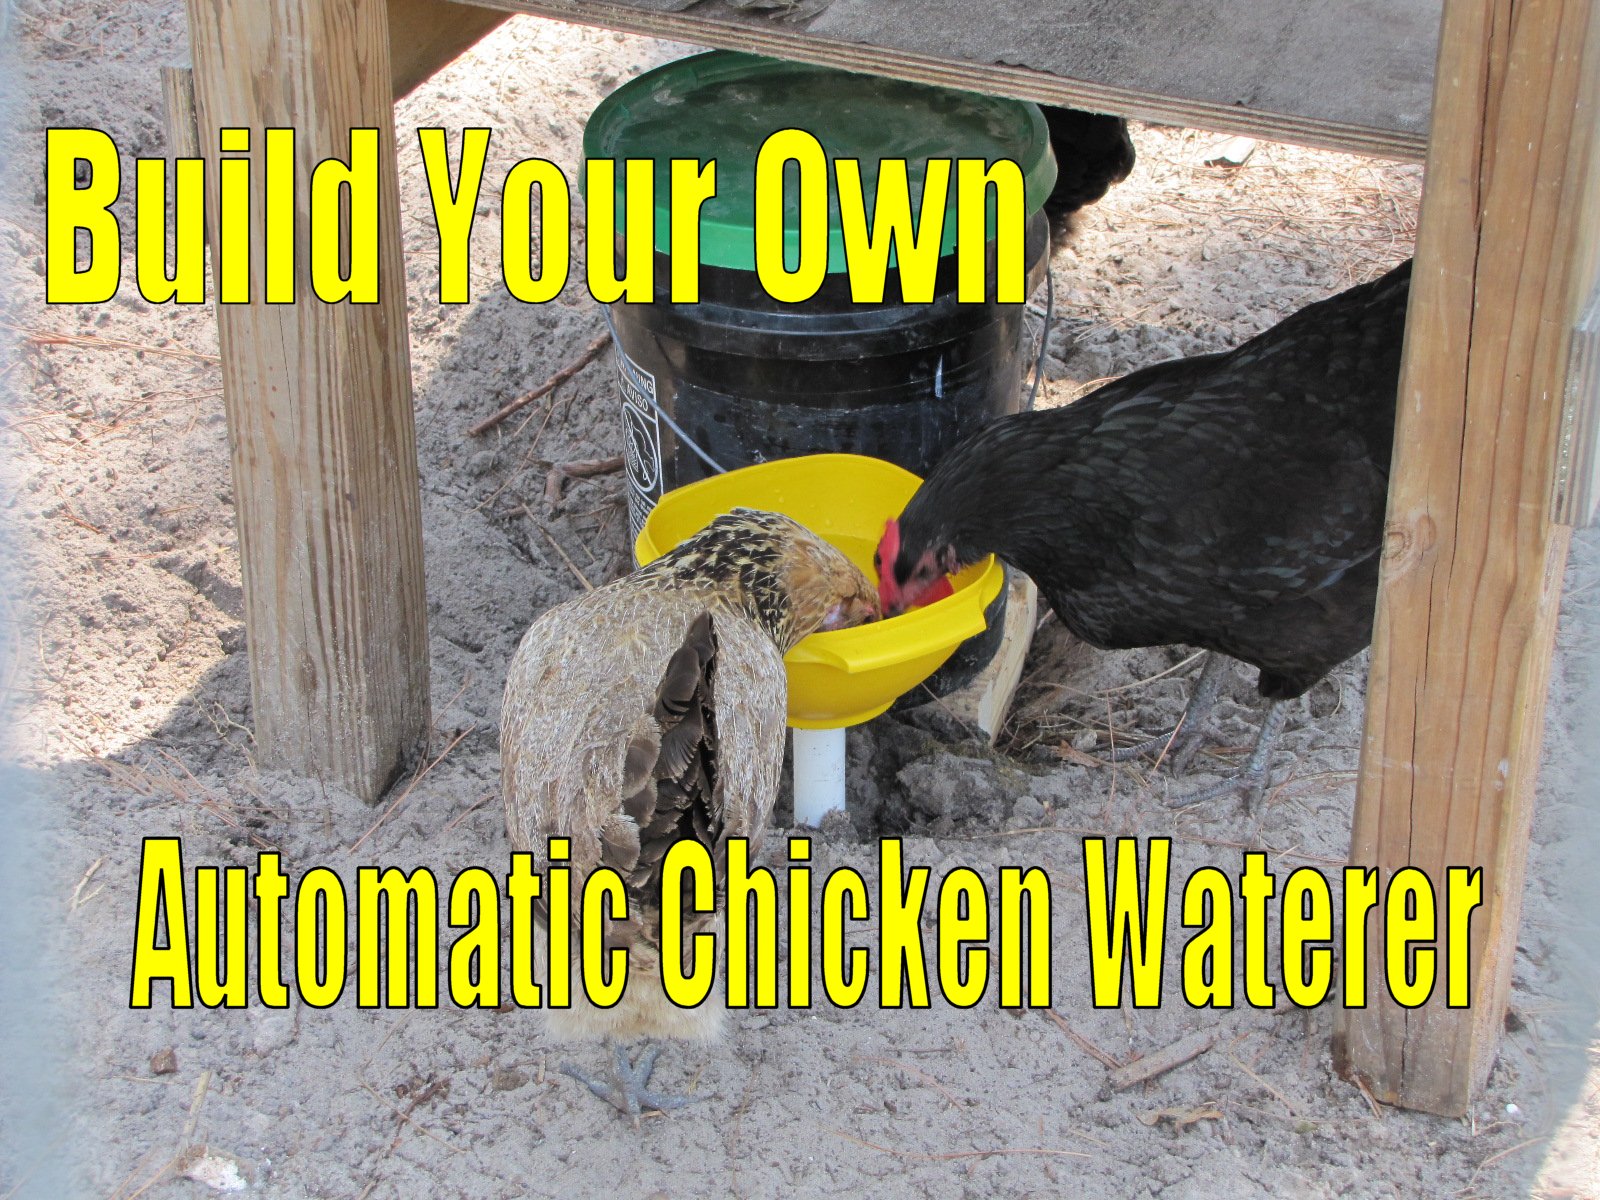
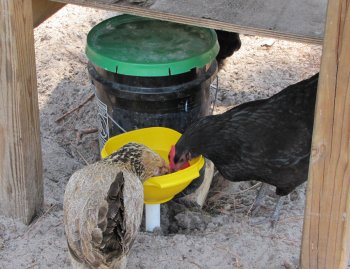
This diy chicken waterer has a traditional bowl for the drinking cup. This means that there is another through fitting to keep sealed. It can be done without too much trouble, but is somewhat cumbersome to remove and replace. You can learn more about this concept at the Automatic Chicken Waterer page. There you can see the older posts that explain this particular diy chicken waterer design.

DIY Chicken Waterer – Most Recent Design

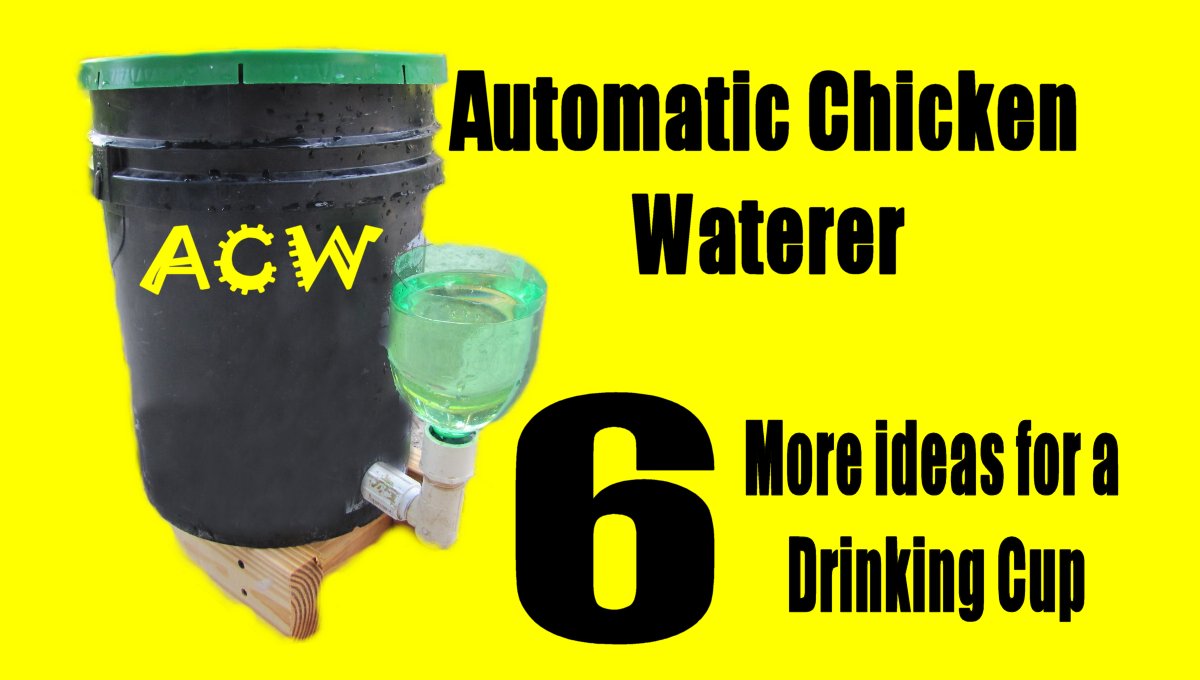
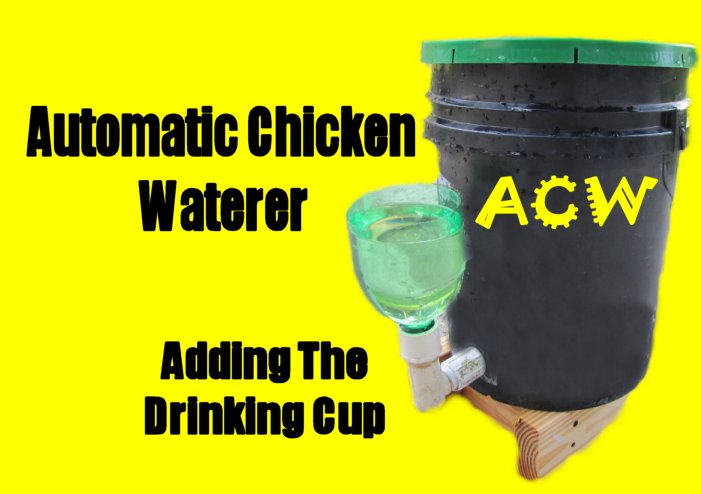
Recently I developed a design for another diy chicken waterer that utilized a 2 liter bottle as the drinking cup. (The image at the top) This idea is great and has been tested even with chickens. Now the drinking cup can be removed and replaced a little easier. The drinking cup can be obtained easier also. It does not need to be a certain height, because you can cut it at the height you need to.


Your specific situation will determine the ultimate finished design of the diy chicken waterer. You can set it up many different ways to suit your needs. These different methods of water delivery were highlighted in the post http://www.tagnaples.com/automatic-chicken-waterer-drinking-cup/. This post focuses on the drinking cup of the diy chicken waterer and the other post focuses on the reservoir – http://www.tagnaples.com/automatic-chicken-waterer-building-it/. All the parts can be obtained relatively easy from any hardware store or home store. The other good thing about the diy chicken waterer is the fact that it can be customized to water many different other birds or animals by changing the design of the drinking cup.

Looking for Automatic Chicken Waterer Parts List?

Automatic Chicken Waterer – 6 More Ideas on Drinking Cup

Looking for Automatic Chicken Waterer Parts List?

Automatic Chicken Waterer - 6 more ideas for Drinking Cup

More ideas for the automatic chicken waterer drinking cup. This is a very important part of the chicken waterer. This concept is very flexible and can be customized for many different situations. One fill valve can be set up to deliver water to many different stations at one time, if needed.

  1. Adhere caps to pvc fittings before you need them. In the video I am using a 3/4″ male thread and 1″ slip fitting. I used Liquid Nails to adhere the 2 liter bottle cap to the pvc fitting. Then I drilled a hole in it to deliver the water. This can be duplicated and stored. If there is trouble with the seal of the 2 liter bottle cap that is in the automatic chicken waterer now, you have some back up fittings to eliminate down time.
  2. A traditional bowl that I documented in a previous post. You can read more about it at How To: Build an Automatic Chicken Waterer. This is a similar fitting to the water delivery fitting on the reservoir. It just needs to be small enough so the chickens can get the water around it. The bowl needs to be big enough or tall enough to capture the on/off spread of the fill valve.
  3. The rain bird sprinkler housing. This can be a Mobile Drinking Station or fitted to sit right on the reservoir.
  4. A Gatorade bottle can be used instead of a 2 liter bottle. I have a lot more 2 liter bottles to be recycled than Gatorade bottles, but the same concept would apply. I would still only drill a small 1/2″ hole in the cap, as it would add strength to keep the cap in tact as much as possible.
  5. Use a pvc pipe approximately 1″ – 2″ in size, then install some prefab watering nipples like the ones found at Avian Aqua Miser. This can be done 2 or more ways. The first is to hard line the pvc to the place you want to install the watering pipe, this method does not allow for too much adjustment. You can also use a flexible hose instead. This way it can be adjusted over time if your flock changes, or if you just want to move it. The chicken waterer nipples only have to be lower than the lowest point of the water level in the reservoir. The reservoir can be put in an elevated position to accommodate this method.

    Click the image to go right to the Amazon.com product page. This kit comes in a 2, 4, or 6 nipple kit. Everything that is needed for water delivery on your reservoir including the bits for the holes and gaskets.
  6. Use the chicken waterer nipples directly in the reservoir bucket. This will eliminate the fitting that is for the water delivery now. This method may be desired if you don’t need it to be spread out. You could set the reservoir in a predicament where the edge of the bucket hangs over and the nipples would be accessible by your birds.

    Click the images to go directly to the Amazon.com product page.
  7. I have since came up with a 7th Idea. It requires purchasing a new “cup” or water delivery design from Amazon. Automatic Chicken Waterer – 7th Idea for water delivery. Click to go to post.

These ideas can be altered to fit your specific situation. Once you get started, then you can customize your chicken waterer as time goes by to work well for you and your situation. I know from experience that it is worth the effort to eliminate the task of “changing” out the water every day. Even reducing it to once a week, or once every two weeks would be good.

Homemade Automatic Chicken Waterer – Drinking Cup with 2 liter bottle

Looking for Automatic Chicken Waterer Parts List?

Adding the Drinking Cup to the Homemade Automatic Chicken Waterer

Homemade Automatic Chicken Waterer – Adding the Drinking Cup

Updating a previously documented project – The Homemade Automatic Chicken Waterer. The new version is a little different, but much the same as the last one in 2012. This time we have some new ideas.

It is time to add the drinking cup to the reservoir.


In the first video and post at http://www.tagnaples.com/automatic-chicken-waterer-building-it/ we went in depth on building the reservoir, supply, and delivery of the automatic chicken waterer. Now we are putting on the drinking cup using a 2 liter bottle as a reusable item in the system. This way we can replace the drinking cup after it has been used for a while, with a new one. We can still recycle the 2 liter bottle even after we have re-used it.

The Homemade Automatic Chicken Waterer concept can be utilized for many different applications with a little imagination.

Homemade Automatic Chicken Waterer – Drinking Cup Parts List

Picking up where we left off from the finished reservoir –

1 – Fitting to go from the reservoir to the drinking cup – This was a 90 degree elbow 3/4″ male pipe thread to 3/4″ female pipe thread.
2 – Fitting to hold the top of the 2 liter bottle. – This is a reducer fitting 3/4″ male pipe thread to 1″ slip.
3 – Liquid Nails adhesive – or whichever adhesive you may use to glue the top of the 2 liter bottle into the 1″ slip fitting.
4 – A 2 liter bottle.

Drinking Cup for the Chickens

Now, as you can see, the float can be adjusted to raise or lower the height of the top of the water. This needs to be tested for optimum performance. Time in the field will help you see where yours needs to be. The 2 liter bottle can be cut tall or short, depending on your specific circumstances.

MAKE SURE TO PUT IT WHERE THE CHICKENS CANNOT GET ON TOP OF THE RESERVOIR BUCKET!!!!!!!

Next up will be more ideas for the drinking cup and bowl.

Homemade Automatic Chicken Waterer – First post to get started

Automatic Chicken Waterer – Building it

Looking for Automatic Chicken Waterer Parts List?

Automatic Chicken Waterer

Build your own automatic chicken waterer

The automatic chicken waterer is a great addition to any chicken coop. This DIY project can give you time and save your effort when taking care of your chickens. Works on water pressure alone, and does not require any power. Once it is set up, it is generally maintenance free for months. The automatic chicken waterer can be built to serve many different applications, even watering other birds or animals. The possibilities are vast. This video is a step by step walkthrough in building an automatic chicken waterer for yourself. It is not hard. If you cannot get the parts, or have trouble drilling and such, I can sell you a basic kit. You can message me on Google Plus!

Automatic Chicken Waterer Parts List

1 – 5 gallon bucket with tight fitting lid
2 – 1 regular toilet tank fill valve
3 – Toilet fill valve supply line
4 – PVC fittings for the delivery pipe
5 – An extra seal for a toilet tank fill valve for the deliver piping.
6 – 1″ drill bit – either paddle bit or hole saw bit

This Chicken Waterer is Great!

Once you see the basic structure of the automatic chicken waterer, you can see how the applications start to come to mind. In the future, I will be creating some more videos and take it farther. The drinking bowl, and some more ideas I have on different ways to deliver the water. Along with the nipples, that can be purchased here – Automatic Chicken Waterer nipples at Avian Aquamiser.

Now you can get started on this project. Once the automatic chicken waterer is built you can rest a little easier knowing that your chickens are well watered, even when your not home. Going out of town is not so bad now, because you know that they are, at least, getting water.

THE DRINKING BOWL IS NEXT – COMING SOON!!!!

Don’t forget to subscribe to my YouTube channel above. Thank you.

How to Clean a Coffee Maker

If it seems like your coffee maker is taking an awful long time to finish, you may need to clean it. It’s not dirty, the ports where the steaming hot water go through are clogged with minerals from your water. A simple process with some vinegar will do an amazing job of speeding up the coffee making process. I was amazed at how quick the coffee finishes now when I clean out my coffee maker with vinegar.

How to Clean a Coffee Pot

Pour the vinegar in the water holding area. You want to mix half vinegar and half water. Make a full pot.

Is your coffee maker slow?

Is your coffee maker taking forever to make the coffee? You may need to clean your coffee maker. This post will show you how to clean a coffee maker. It is not difficult to clean a coffee maker, it will just take some time. All you need is some vinegar, and some patience. Coffee is almost like air, especially in the morning. It just feels right.

Now the first thing to do is get finished with the coffee that is already in the pot. Rinse it out like you are getting it ready to sit for the day. Then get out the vinegar.

Pour the vinegar in the water holding area. The coffee maker in the photos is a 12 cup coffee maker. So we will use 6 cups or half of the coffee maker capacity.

How to Clean a Coffee maker

Fill it the rest of the way with water. Half vinegar and half water. Make a full pot.


Now fill it the rest of the way with water. If you want to use bottled or distilled water, it may be a good idea since the normal water you use may be heavy in minerals (which is what is clogging up your coffee maker in the first place). I don’t, and it seems to work fine for a while.


How to Clean a Coffee maker

A little cloudy, but hopefully that will go away.


It may look a little cloudy, but there is still some coffee from this morning in there too. It will still be cloudy, because it is cleaning it out. Once this is percolated all the way through, turn the coffee maker off. Then you want to either pour the vinegar and water mixture out or pour it into another container. This vinegar and water mixture can now be re-used to do some cleaning.

How to clean a coffee maker

Add clean water now!

1 – Pour it into the bottom of the dishwasher before you turn it on later. It will help clean out the dishwasher and your dishes from hard water stains.

2 – Use it to clean the shower or bath tub area. This is where hard water and soap leaves residue. The vinegar and water mixture will help.

3 – Vinegar is a mild acid, so it will help in other cleaning jobs as well.

How to clean a coffee maker

Looking a lot cleaner. Rinse out with fresh water.

At this point you can either run vinegar and water through it again, or go ahead and start the rinsing process.

Rinse the pot out one time, then fill it back up to as many cups as it will hold with fresh water and then fill up the water holding area. Again, you can use bottled  or distilled water or just the tap. Again, let it percolate all the way through the pot.

Now rinse it again. You can do half a pot, or a full pot. Just for another preventive measure to get the vinegar smell out. At this point, there is no reason to fear ingesting it, because it is so diluted that it is now just the smell.


Chicken Fence – How High Should It Be?

Your Chicken Fence should be as high as it needs to be to keep those chickens in and the critters out. My chicken fence is 7′ tall and is still not high enough. I made the fence very high so the chickens could not get out. I was letting the chickens out so they could feed on the ground, but they were digging these deep holes. So I finally stopped letting them out. Then I find 2 chickens are out all the time and I have to keep putting them back in. I finally found them to be just flying over the fence. This is in another post video-chicken-escaping-7-fence-re-entering. They were just literally, flying over the chicken fence. So I cut their wings. I have a post developing on this, but is just for entertainment as there are plenty of informative chicken wing cutting posts out there.

Chicken Fence Woes!

Everything was good for a while, I started to relax about it. Then one day I noticed one of the chickens out of the fenced area just having a good old time scratching and pecking. What is going on? What do I have to do to keep these chickens in this fenced area? So I watched and waited and I finally figured out that they were going under the chicken fence. Here we go again. This is the video that I have here for you. I plugged up the hole with a stick and a rock, then just one day later, another episode. I plugged that hole and have not had any more  incidents. Let’s see how long this lasts.

I have read that once you let your chickens free range, that they don’t want to be caged up. I know that the chickens that get out first have been free ranged before. The followers are just taking advantage of the situations.

Chicken Fence Height – Link to good article

Reuse Your To Go Cups for Seed Starters

Reuse your to go cups and it can help you in the garden, as well as helping the environment. Reuse the to go cup by saving the lid and the cup to create a mini-greenhouse. I know whenever I am having lunch out, one of my most favorite things is to ask for a to go cup of sweet tea.

Reuse The To Go Cup

This is actually one of the things I look for in an establishment to keep coming back, but that will be in a different post. This lid on this Ted’s to go cup fits the solo cups so I can use them as well.

Reuse - Drill the Holes So it does not fill up with water

2 – Drill Holes in the bottom of the cups so they don’t hold water. This is a 1/2″ drill bit, but even several small holes will do good.


Some cups can be used over and over, and others are a one time shot. Using this method creates an environment that does not disturb the other seedlings if they are not progressing at the same rate. This way you can take them out as they sprout and add others to that flat. Then the ones that sprouted can be taken out into the sun to get to where they can be transplanted from here.

Make sure and drill holes in the cups. Seeds won’t do well in standing water. They may sprout, but then die soon after.

Reuse and create the Mini-Greenhouse

3 – Creating a Mini-Greenhouse keeps the moisture in. This is more consistent than trying to keep watering them.

Once the lid is put back on the moisture stays in and then when the seed sprouts, just take the top off and it has its own small pot to get past the seedling stage. This method can be duplicated over and over, or just done one at a time. The lids are sometimes interchangeable so many different cups can be used and collected. The sun will make plastic brittle so keep this in mind.

Now that we are finished we can reuse some of them again!

reuse - Take the top off once it sprouts save it

4 – Once the seedling sprouts, take the top off so it can get some sun.

The seedlings that you see in these photos are sunflowers. I try to grow things that I can use, and that does not need a lot of attention. I can feed the sunflowers to my chickens, in exchange for eggs. So it is like I am growing chicken eggs.
Now these seedlings can be dealt with one at a time.

There are many different things you can do now that you have them separated. Sharpie marker can be used to identify each cup. Cross it out and write again for the next trip.

Reuse - Seedling Sprouts almost time to plant

5 – Each of the seeds sprout at different times. Depending on what you are growing, there may be days and weeks difference.

Loggerhead Shrike – Calling and Making Noise to Attract Bugs

At the time, this Loggerhead Shrike was atop a pole that was in the yard and was calling and making noise to attract bugs. As I got closer I found it just continued no matter how close I got.

Once it saw something it liked it would just go down and grab it and come back up again. It kept making these sounds for a while until it finally went somewhere else.

Loggerhead Shrike Photos

These Loggerhead Shrike photos were taken June 2013.

Loggerhead Shrike


This bird (Loggerhead Shrike) was discovered on my back porch on the rail one morning and it caught my attention. I noticed that it was not moving. I got the camera out and was able to snap a shot or two and it flew off. After 30 minutes or so, I noticed it on a tree limb. It stuck out, because I don’t remember seeing any of these birds around before. I noticed that it would eventually fly down to the grass and capture something and fly right back up to where it was.

Loggerhead Shrike

Then it would wait patiently until repeating the process. Throughout the day I was able to get a few good photos and also watched it grab a few bugs along the way. Every now and then I would be able to see it attacking an insect of some sort.

Ever since this day, I have been noticing the Loggerhead Shrike almost everywhere I go. On a wire it looks like a mockingbird, until the light gets on it. Then you can see the mask and know the Loggerhead Shrike is just waiting and watching!

Loggerhead ShrikeLoggerhead Shrike with food

How to Boil Eggs for Deviled Eggs – Long Version

How to Boil Eggs for Deviled Eggs. This is a simple method that can be duplicated time and again to consistently boil eggs for deviled eggs. It all starts with the eggs. The best eggs are the ones that come from your chickens, but you can also buy eggs at the store.

Start with Empty water before putting in the eggs


Start with an empty pot of water and turn the burner on. Stove  burner should be turned on HIGH.
Add Eggs to the water


Put the eggs in the water as you turn on the stove.

Boil eggs for Deviled Eggs.


Now all the eggs are in the pot and it will take a minute or two to get to a rolling boil.


Raging boil for boiling eggs


Let the water come to a rolling boil and as soon as the rolling boil starts, time for 3 MINUTES.

Turn off the stove.

Let sit 10 minutes on the stove.

Rinse the eggs with cold water


Rinse with cold water – tap water from faucet on cold.

Drain the pot full of eggs


Drain out water and repeat process a time or two.


Swirl the pot with the eggs and water. This will crack the eggs slightly and allow some of the water to enter between the egg and shell.


Flush – swirl – flush – swirl – 2 or 3 times.

Put the boiled eggs in the fridge


Empty water, put in another container and place in the fridge.


Short Version – How to Boil Eggs for Deviled Eggs