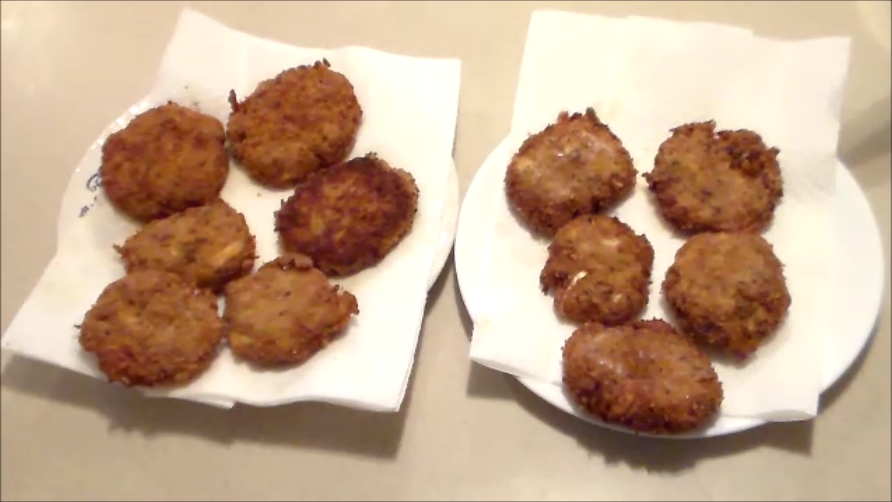
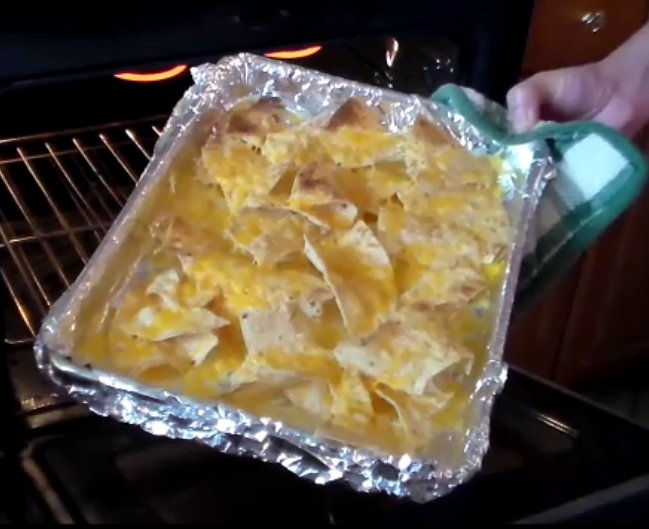
Cheesy Chicken Ravioli Finished
Cheesy Chicken Ravioli is a really good meal item and will have the whole family wanting this for dinner. This cheesy meal can include chicken or not and can be expanded or reduced to accommodate few or many people.
This particular version was with a 3 quart pan and will feed 4 people well.
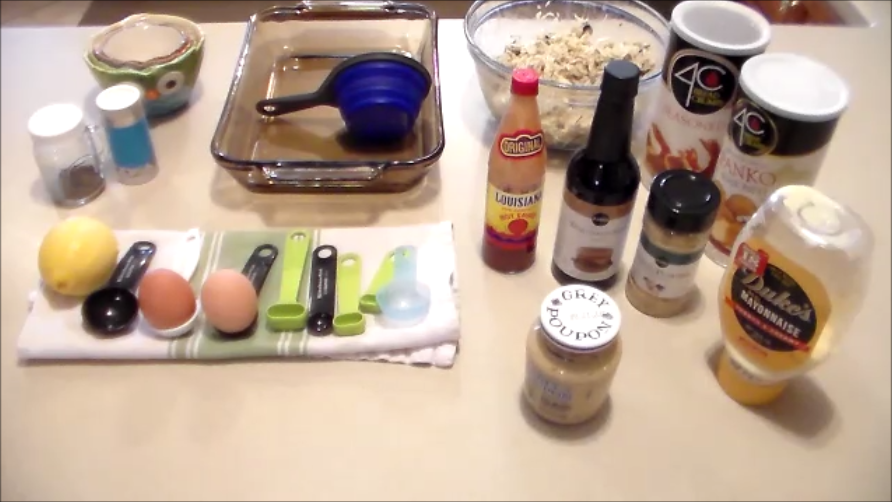
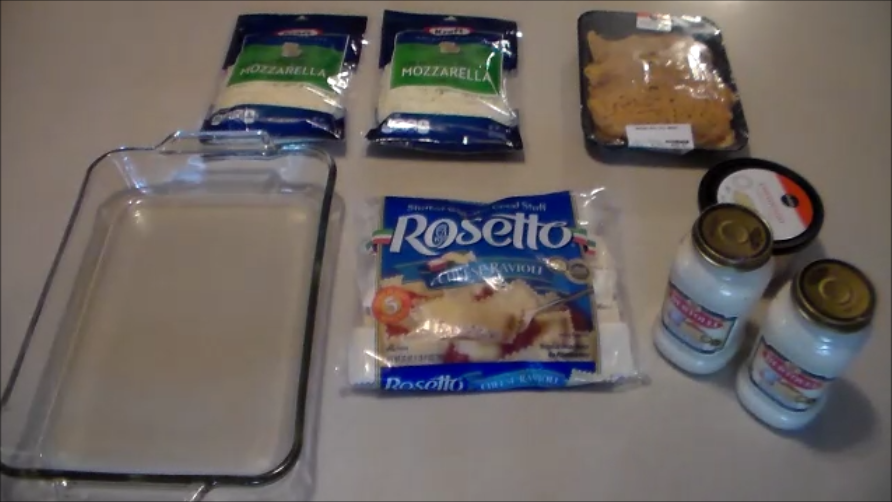
Items needed to make this Cheesy Chicken Ravioli dish.
-

Cheesy Chicken Ravioli Ingredients
Baking dish around 2″ deep (ours was 13 1/2″ x 9 1/2″ x 2″)
- Cheese Ravioli (Usually found frozen) – This is filled with cheese as opposed to Beef Ravioli which is filled with beef. The beef ravioli is what we cook with the red sauce, but it may end up being good in this dish without adding any chicken.
- Alfredo Sauce – We are using almost 2 full jars for this dish (15 oz. jars). The alfredo sauce can be added to or taken away from this dish for personal preference. We call this “white” sauce as opposed to “red” sauce which is tomato based.
- Chicken – We are using “Ready to Cook” chicken breast. The chicken needs to end up as bite sized pieces. So this can be a few different kinds, but this is how we like it.
- Parmesan cheese – We are using shredded parmesan, but you may be able to use the ground version.
- Mozzarella cheese – again we are using shredded, which is the way you normally would get mozzarella cheese. The mozzarella cheese can be added to or taken away from this dish depending on personal preference.
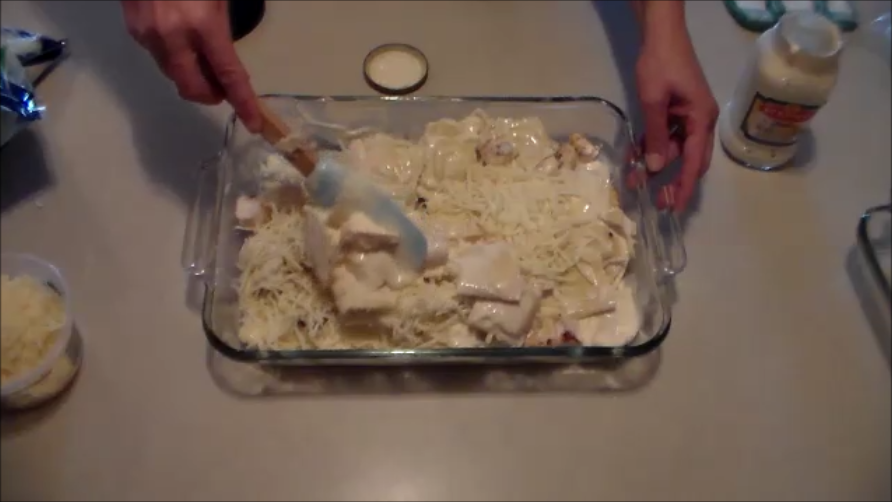
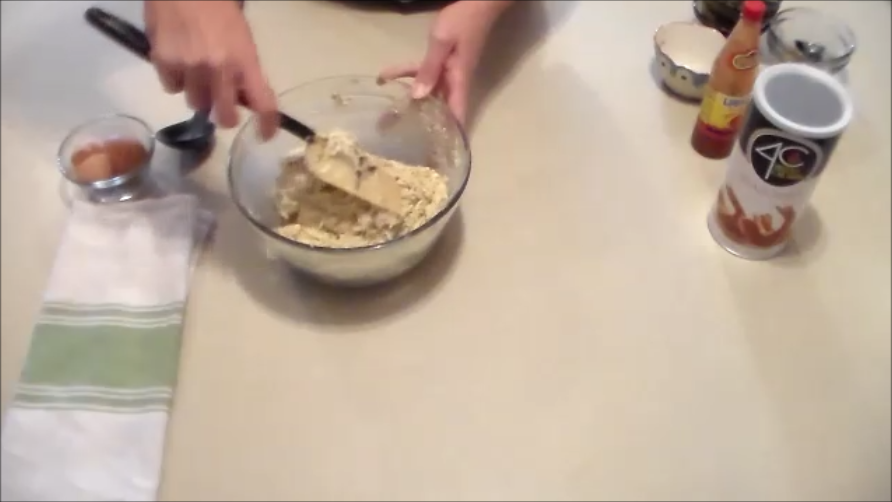
Mixing up the Cheesy Chicken Ravioli
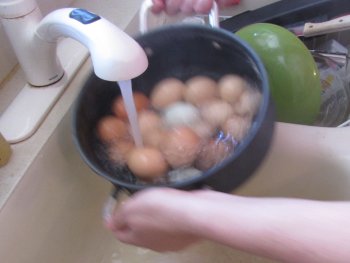
- Cook the chicken thoroughly.
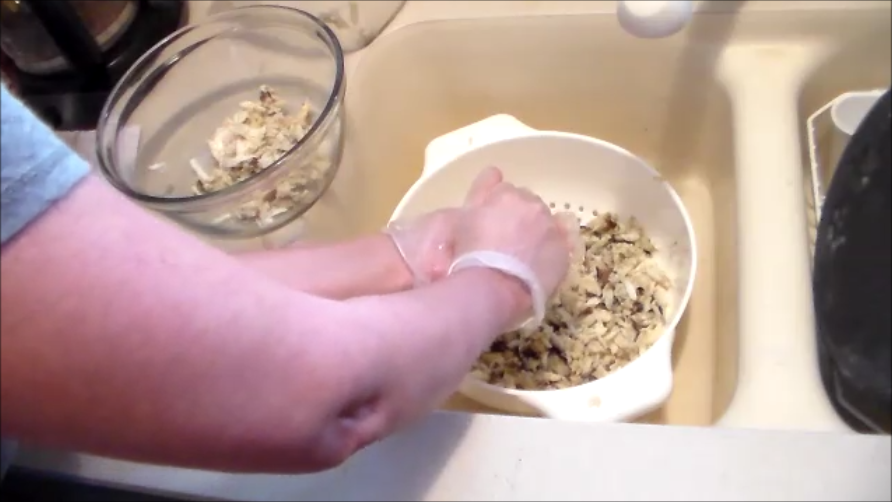
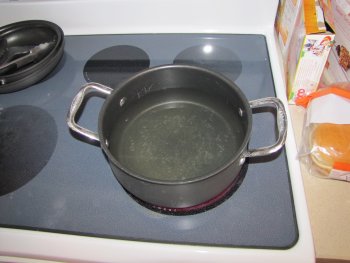
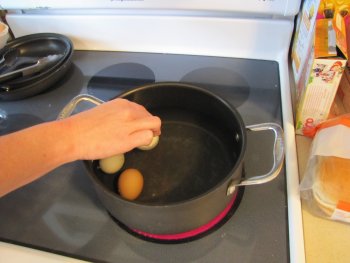
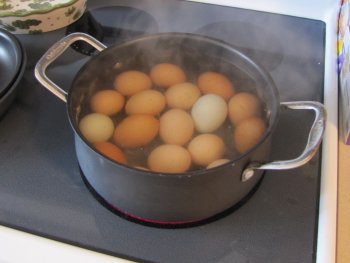
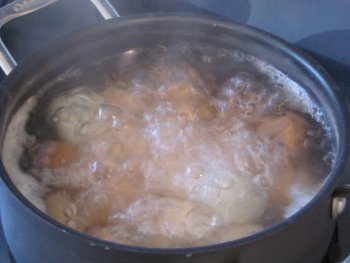
- Boil the ravioli – The ravioli will float to the top of the water when they are done. We added them to a rolling boil and they should only take 3-5 minutes to cook.
- Once the ravioli is finished cooking, add them to the bottom of the baking dish.
- Once the chicken is finished cooking, cut it into bight sized pieces and add to the top of the ravioli in the baking dish. We used 2 1/2 large breast cuts for ours.
- Now put one full jar (15 oz.) of Alfredo sauce on the top of the chicken and ravioli.
- Mix this up just so that it is evenly mixed.
- Add 2 handfuls of the parmesan cheese.
- Add 2 handfuls of the mozzarella cheese.
- Mix again so all these ingredients are mixed adding more Alfredo sauce if needed.
- Now make this mix even throughout the baking dish.
- Add more Alfredo sauce to the top of this – sparingly.
- Add more Parmesan cheese to the top – sparingly – one handful.
- Add more Mozzarella cheese to the top – as preferred but sparingly.
- Pre-heat oven to 350 degrees.
- Place pan and cook for 40 minutes or so. Monitor after 30 minutes so as not to burn the cheese.
- Scoop it out with a large spoon. Garlic bread might be a great addition to this.
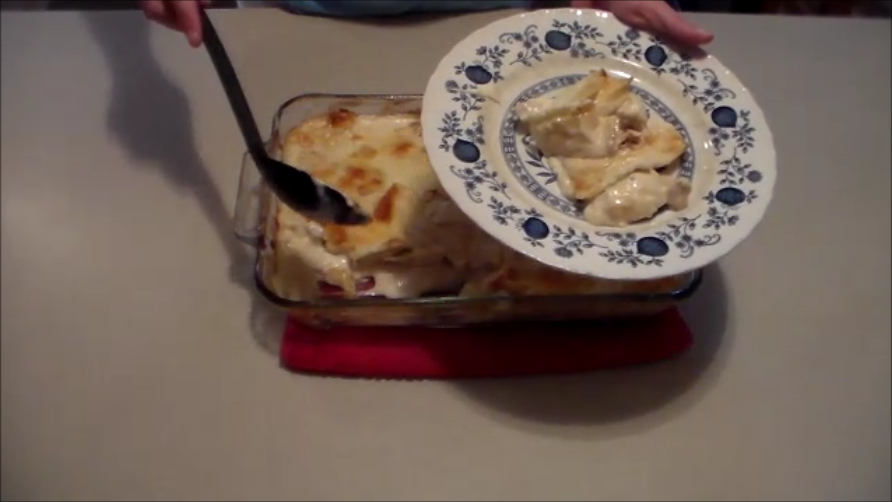
Cheesy Chicken Ravioli Ready to Eat