
Looking for Automatic Chicken Waterer Parts List?
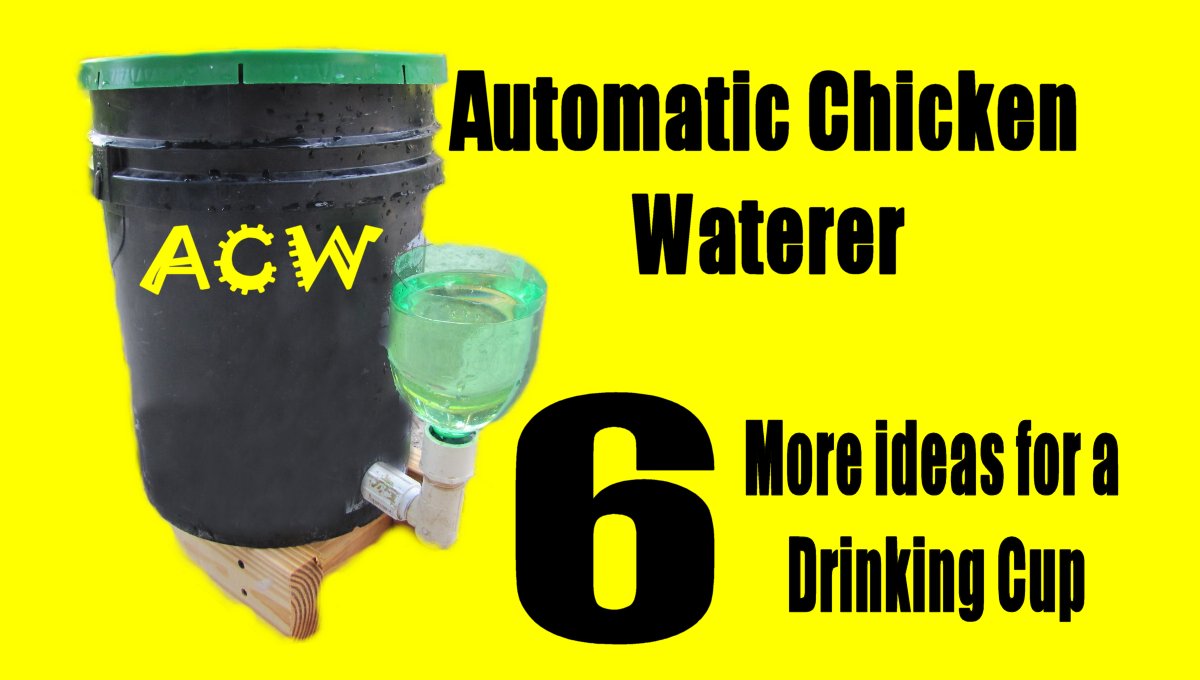
More ideas for the automatic chicken waterer drinking cup. This is a very important part of the chicken waterer. This concept is very flexible and can be customized for many different situations. One fill valve can be set up to deliver water to many different stations at one time, if needed.
- Adhere caps to pvc fittings before you need them. In the video I am using a 3/4″ male thread and 1″ slip fitting. I used Liquid Nails to adhere the 2 liter bottle cap to the pvc fitting. Then I drilled a hole in it to deliver the water. This can be duplicated and stored. If there is trouble with the seal of the 2 liter bottle cap that is in the automatic chicken waterer now, you have some back up fittings to eliminate down time.
- A traditional bowl that I documented in a previous post. You can read more about it at How To: Build an Automatic Chicken Waterer. This is a similar fitting to the water delivery fitting on the reservoir. It just needs to be small enough so the chickens can get the water around it. The bowl needs to be big enough or tall enough to capture the on/off spread of the fill valve.
- The rain bird sprinkler housing. This can be a Mobile Drinking Station or fitted to sit right on the reservoir.
- A Gatorade bottle can be used instead of a 2 liter bottle. I have a lot more 2 liter bottles to be recycled than Gatorade bottles, but the same concept would apply. I would still only drill a small 1/2″ hole in the cap, as it would add strength to keep the cap in tact as much as possible.
- Use a pvc pipe approximately 1″ – 2″ in size, then install some prefab watering nipples like the ones found at Avian Aqua Miser. This can be done 2 or more ways. The first is to hard line the pvc to the place you want to install the watering pipe, this method does not allow for too much adjustment. You can also use a flexible hose instead. This way it can be adjusted over time if your flock changes, or if you just want to move it. The chicken waterer nipples only have to be lower than the lowest point of the water level in the reservoir. The reservoir can be put in an elevated position to accommodate this method.
Click the image to go right to the Amazon.com product page. This kit comes in a 2, 4, or 6 nipple kit. Everything that is needed for water delivery on your reservoir including the bits for the holes and gaskets. - Use the chicken waterer nipples directly in the reservoir bucket. This will eliminate the fitting that is for the water delivery now. This method may be desired if you don’t need it to be spread out. You could set the reservoir in a predicament where the edge of the bucket hangs over and the nipples would be accessible by your birds.
Click the images to go directly to the Amazon.com product page. - I have since came up with a 7th Idea. It requires purchasing a new “cup” or water delivery design from Amazon. Automatic Chicken Waterer – 7th Idea for water delivery. Click to go to post.


These ideas can be altered to fit your specific situation. Once you get started, then you can customize your chicken waterer as time goes by to work well for you and your situation. I know from experience that it is worth the effort to eliminate the task of “changing” out the water every day. Even reducing it to once a week, or once every two weeks would be good.