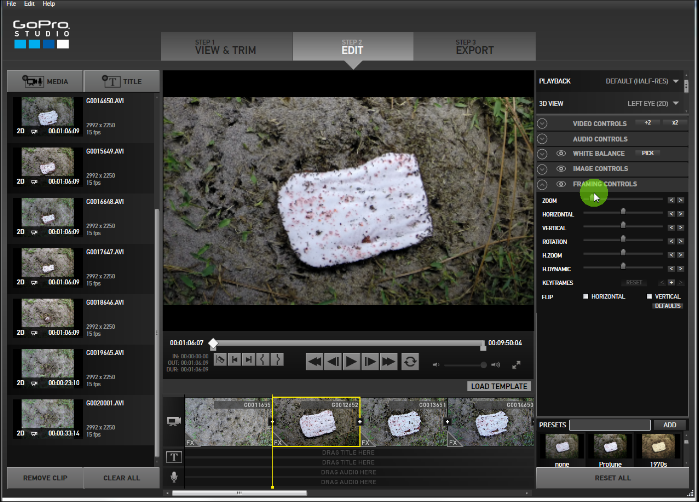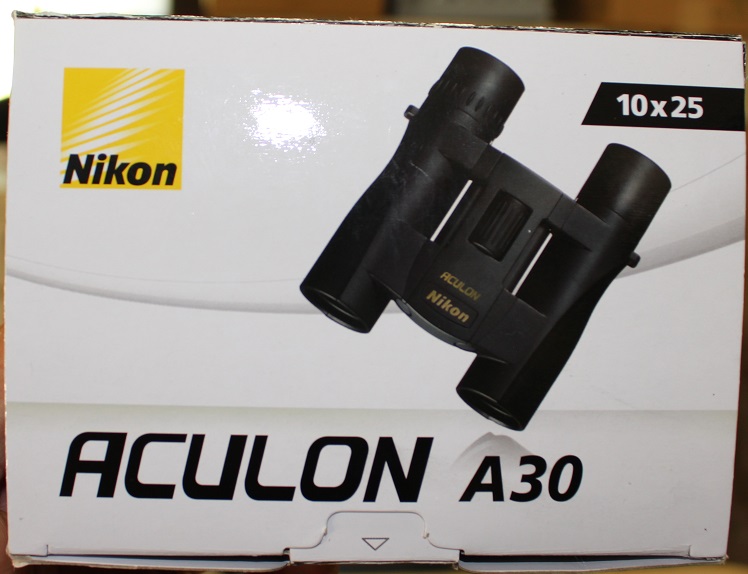
Nikon A30 10×25 binoculars Box
When walking on trails, like I frequently do, it is nice to have binoculars on hand to view things that are seen. Having your binoculars dangling around your neck can sometimes be a nuisance and also start to hurt after awhile. Having the binoculars in a pocket for quick retrieval works out a lot better, especially when the target is fleeing.
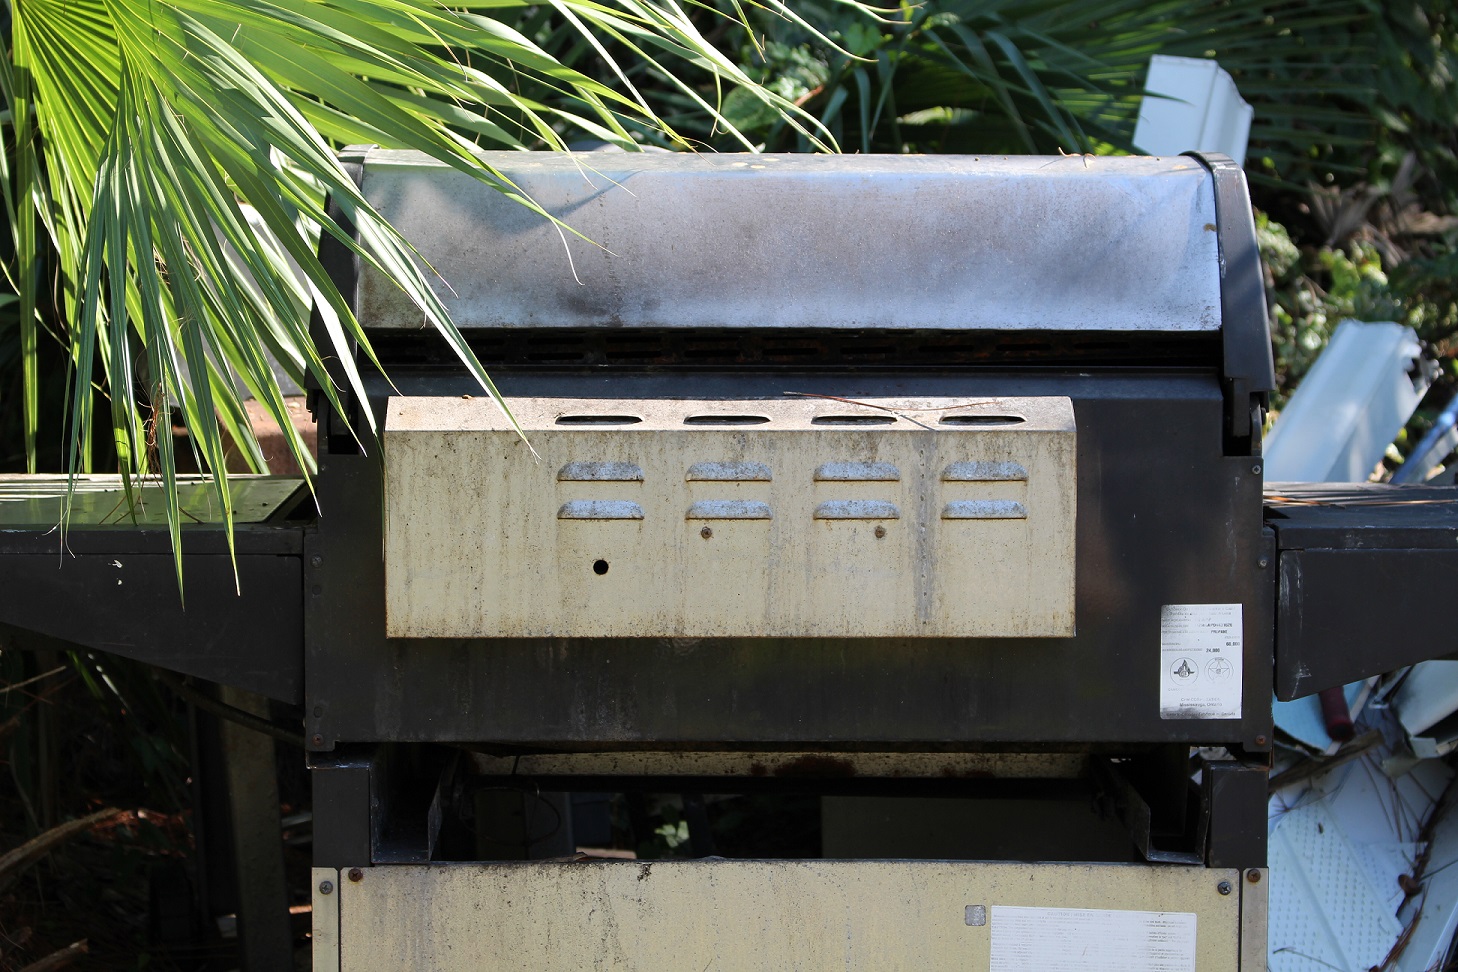
I recently purchased a pair of Nikon ACULON A30 10×25 Binoculars and had the opportunity to provide a comparison with 2 other pairs of binoculars that I had on hand. The other 2 pairs were Bushnell Birders 7×35 that are 20 plus years old (my favorite) and also Celestron 16×32 (don’t like that one much). What I did was mark out 25 paces from an old grill that had a sticker on it. This way I could compare all three pairs. That is a good way to see what the binoculars are like, is to have them next to others.
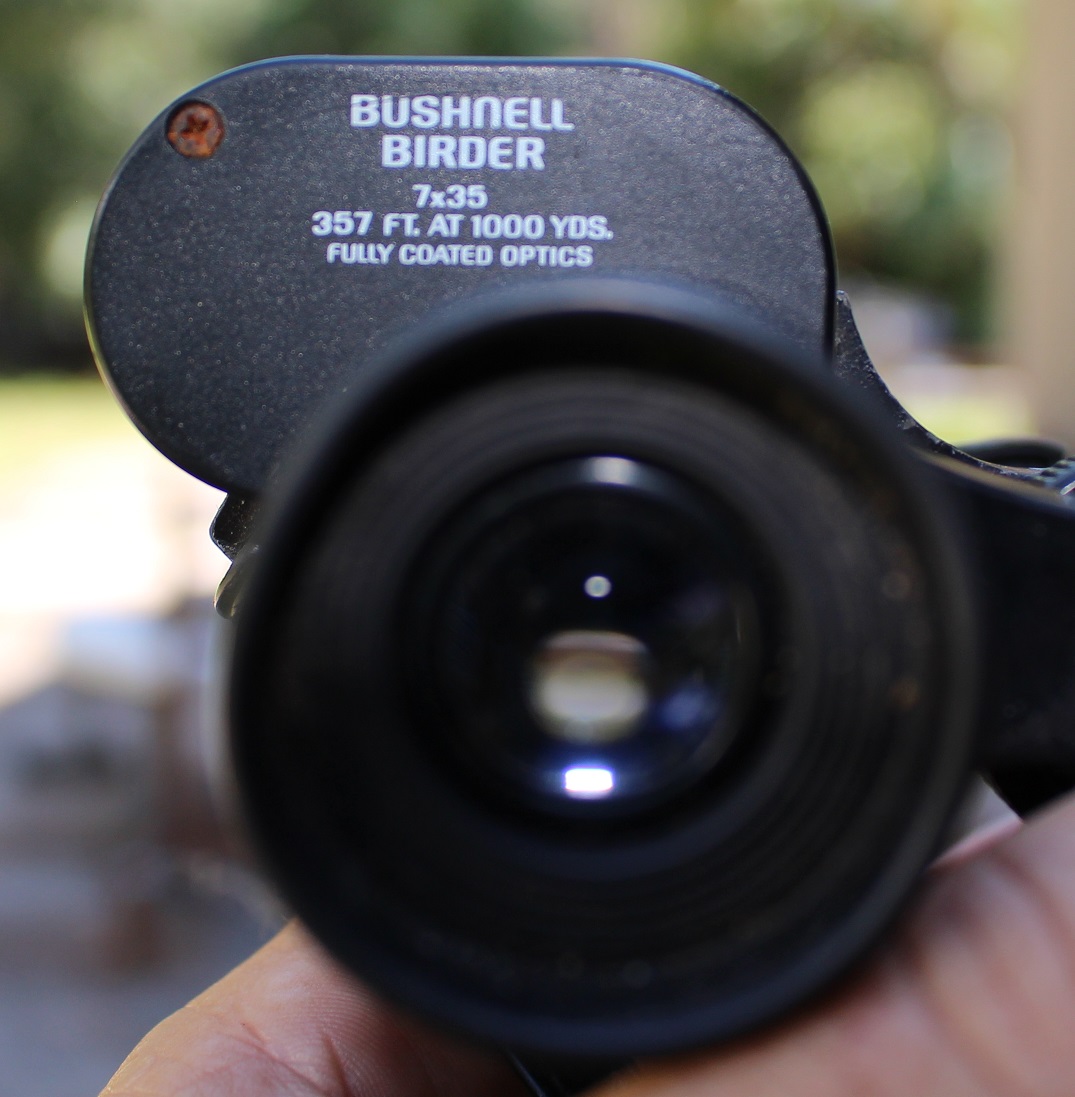
Bushnell Birder 7×35 binoculars
The Bushnell 7 x 35 binoculars are pretty standard. These type of binoculars have been around a while. I have had several pairs similar to these given to me. I usually just put them in a vehicle or somewhere that I don’t have to remember to take binoculars. They are very easy on the eyes and have a good field of view.

Bushnell Birder 7×35 binoculars size
The Celestron 16 x 32 binoculars have a really close up view as they are 16x, but are not real easy on the eyes. As I was looking through them, I had to squint and try to see a steady view. I have used these on my walks before and was not real pleased with this happening. I had always wished I brought my Bushnell binoculars with me. So after the first time I used them, I just kept them in my pack and only used them if I needed to get closer, but not for general purpose. I had originally purchased these to get the 16x, but I didn’t think they would be hard to view.
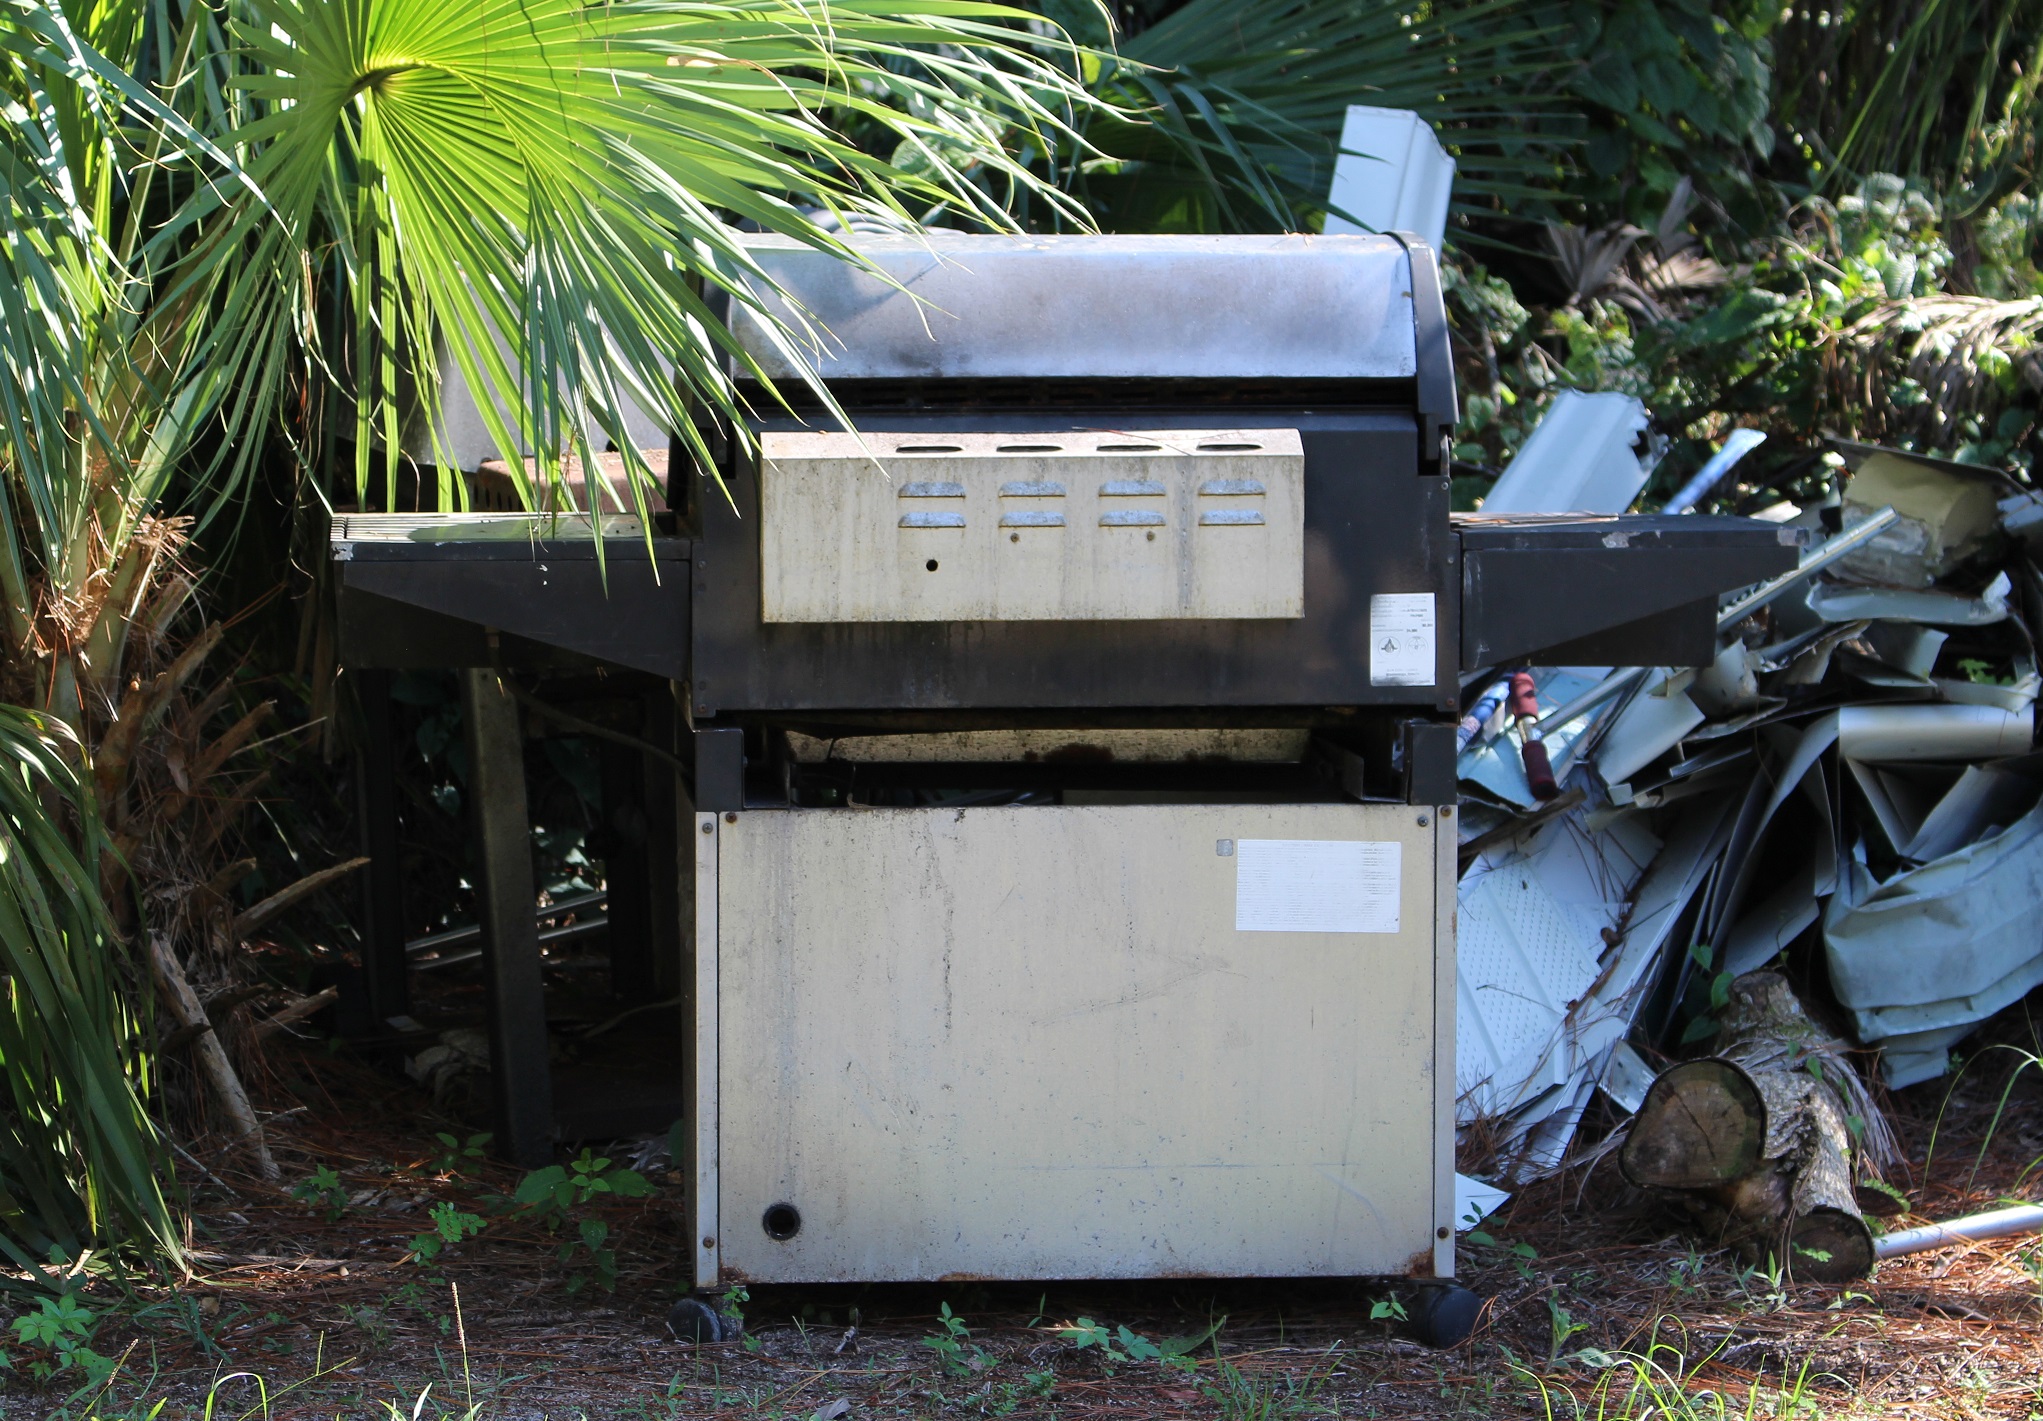
Bushnell View at 25 paces binoculars
The Nikon ACULON A30 10 x 25 binoculars are much different. Even though they are small, they are easy on the eyes like my Bushnell binoculars. I don’t have to squint, and seem to get a good view without trying too hard. I can stick these in my pocket and not have to take off my pack to get them. They are real clear just like the birders. They came with a decent strap so I can hang them around my neck in between having them in my pocket.
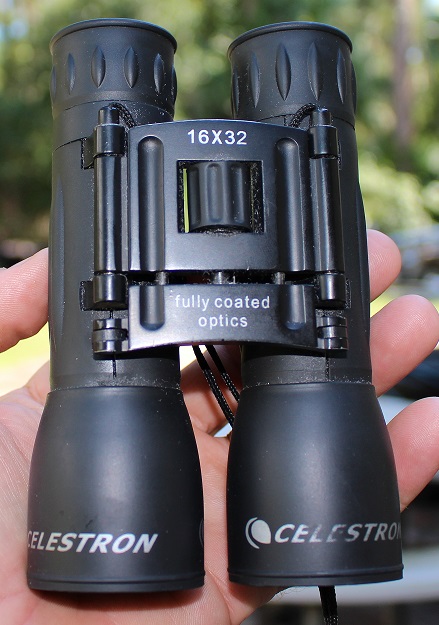
Celestron 16×32 binoculars
Celestron view at 25 paces binoculars
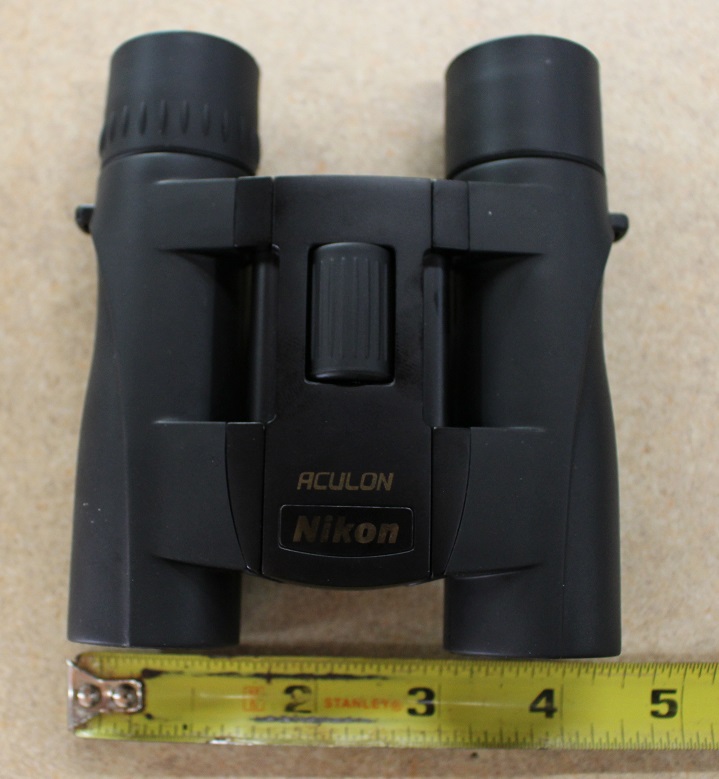
Nikon A30 10×25 binoculars
When I say “easy on the eyes”, I mean that I don’t have to try to see out of the binoculars. For some reason, the Celestron binoculars are hard to see out of. They are clear, but it just seems like the eye holes are too small. They are just a little small than the Nikon eye holes.
25 paces is about 75′. I could not “read” the sticker out of any of them, but could make out more as the magnification grew.
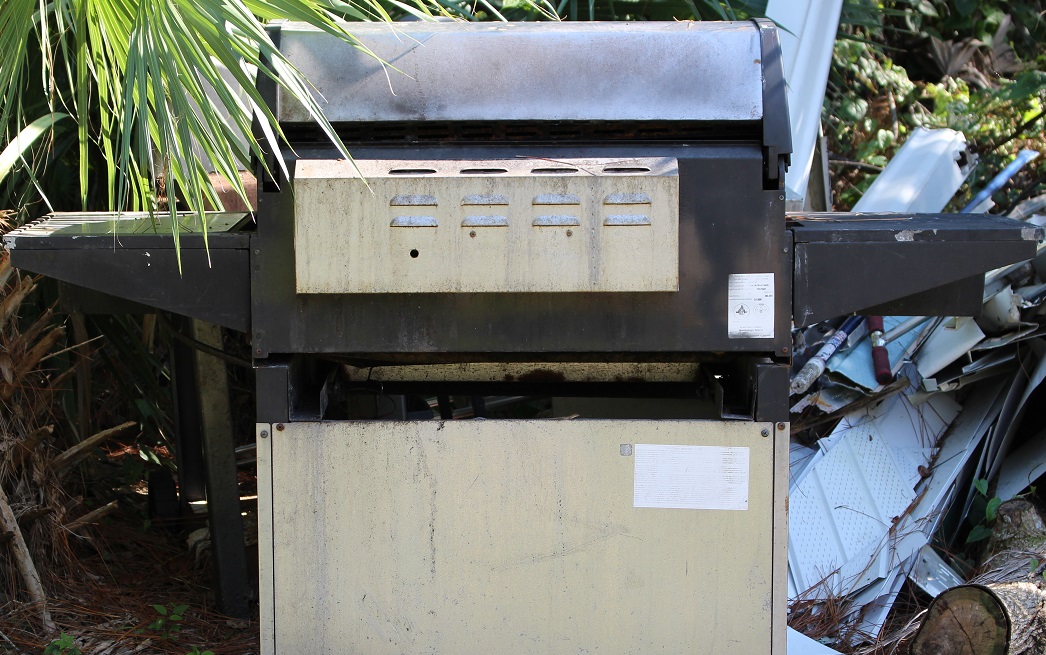
Nikon A30 10×25 binoculars View at 25 paces
The Nikon ACULON A30 10×25 binoculars have some good reviews on Amazon.com.