The GoPro battery life can be extended with some of these methods. Charging the GoPro camera is sometimes a challenge, especially when you are wanting to be using it while the battery is charging.
DigiPower GoPro Charger
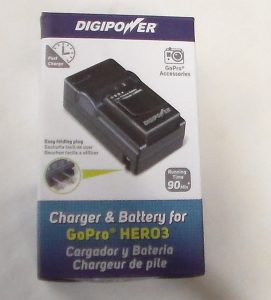
DigiPower GoPro Charger
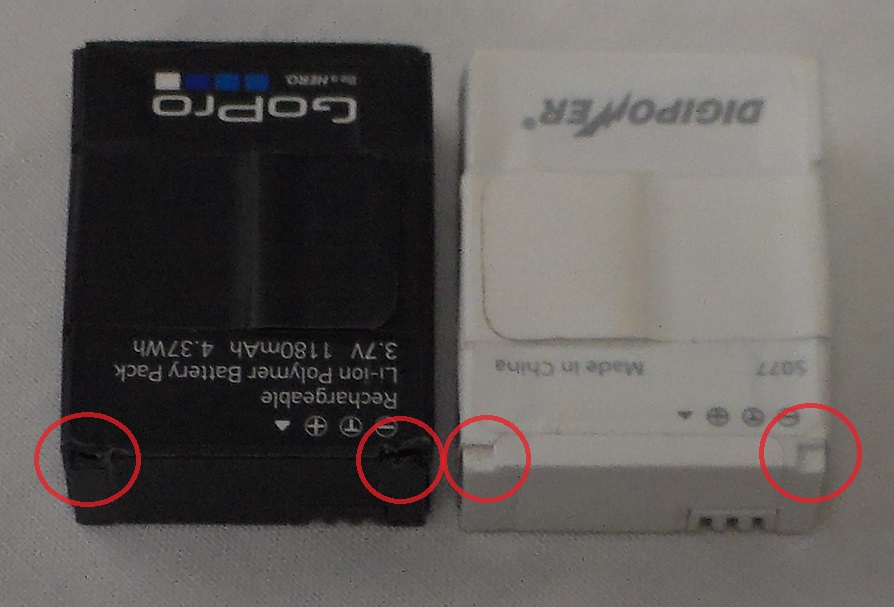
GoPro Batteries Notched
So now with the DigiPower charger you can be charging a GoPro battery and using the GoPro unit at the same time separately. The charger package I got also came with a battery, so I was able to alternate. The only problem was that the DigiPower battery had 2 notches in the top that snapped into the charger and the GoPro brand batteries do not have notches. I was able to take a razor blade and cut just enough of the plastic out on the GoPro brand batteries and they work and charge fine. So after a little time keeping, this charger takes 4 hours and 20 minutes to fully charge the GoPro brand battery.
Charging GoPro with PC
It only takes 2 hours and 3-5 minutes to charge the GoPro battery using the GoPro unit plugged in to a PC USB port. The one thing with charging this way is that the GoPro camera cannot be used while charging. I wanted to keep like items so I did not test the DigiPower brand battery, but I will update soon with this info.
110v Charger and 12v Charger
Using these charging methods are good, takes about 2 hours and 20 minutes. This is just a little longer than if it is connected to a PC. These charging methods can also be used to power the GoPro camera unit.
Power Bank – Cell Phone Charger
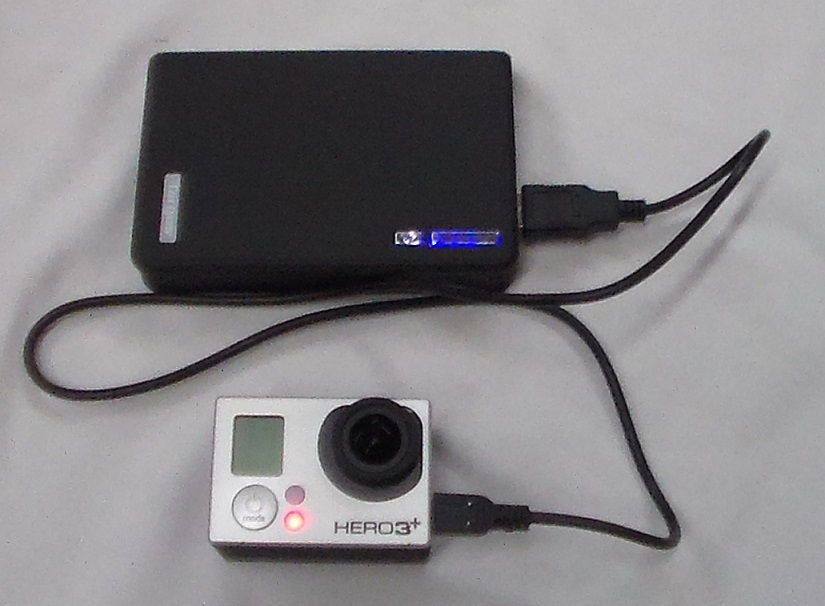
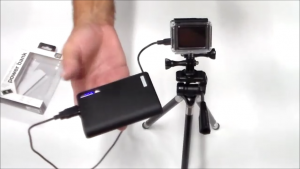
Power Bank GoPro Charging
What is better than that? Using a power bank, specifically the Targus 5200 mah. This will charge the batteries while in the unit, as well as power the GoPro camera if you turn it on while charging. It only takes 1 hour and 33 minutes to charge the GoPro camera with the power bank. Fully charged the power bank will charge the GoPro battery 3 full times. I have used this method to prolong some of my time lapse projects. It turns a 2 1/2 hour battery into an 11 hour battery. The only thing that I lose is the ability to go underwater. I don’t do any underwater time lapse, so I’m good.
If you are using the power bank option, you can keep going by just switching out the power banks and the GoPro camera will not turn off during the process, unless you drain the power bank and battery completely. This can drastically increase the GoPro battery life and mobility.
Takes about 8 1/2 hours to fully charge the power bank.
GoPro Accessory – Skeleton Housing
The skeleton housing can be used in all these scenarios. Using an extension cord or even a USB extension can widen the range significantly.

GoPro Skeleton Housing
Top 20 Best Selling Power Banks on Amazon.com
This link is to a list of the best selling power banks on Amazon.com. Make sure and look at the mAh value as the higher the mAh the longer it will last.
You can use the 30PIN POWER CABLE WITH WATERPROOF BACK DOOR HOUSING FOR GOPRO HERO3+&HERO4 in conjunction with a power bank. Using a power bank will drastically increase the situations that you can extend your battery time. Getting the GoPro 30 pin connector with waterproof back door will extend your ability to leave the gopro oustide or even submerge the gopro under water.