
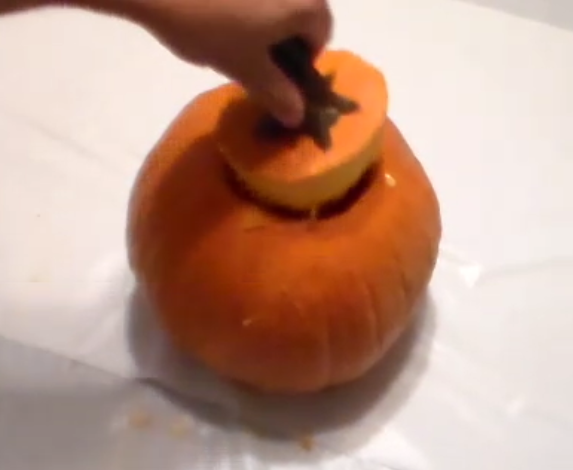
Cut around the stem of the pumpkin so there is a lid to return.
Carving a pumpkin? Let’s cook and eat those seeds that you take out of the pumpkin.
1 – Cut the top of the pumpkin where the stem is. Usually this is where you want to cut it so you can use it as a top and put it back on to make it look whole again. I guess you could cut a hole in the back or something, but you would not have a nice handle to use. Get a vase or something and trace a circle out with a pen.
2 – Now start emptying the pumpkin. You may have to use a tool to dislodge the pumpkin guts from the side of the pumpkin. Put this into a bowl or onto something that you can wash or throw away. Get all the seeds and guts out.
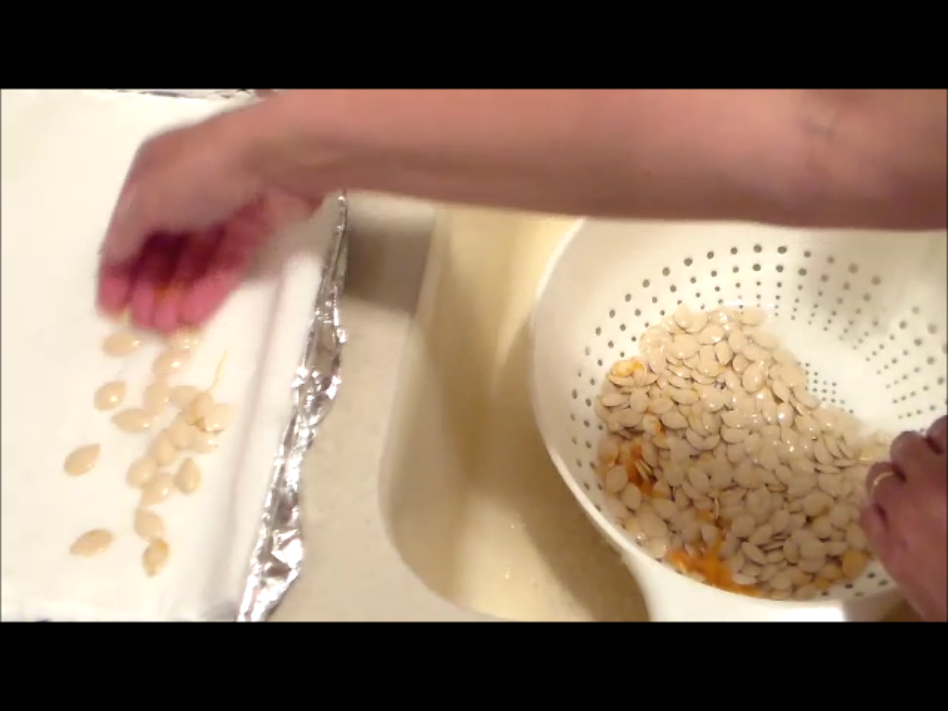
Separate the pumpkin guts from the seeds
3 – Now it is time to separate the pumpkin guts from the seeds. This is the step before washing so just get as much as you can.
4 – Wash the seeds and now try to get as much pumpkin as possible away from the seeds. A strainer will help so the water can run and not fill up. Put the clean seeds onto a tray or some paper towels so they can dry overnight.
5 – Now that the seeds are dry, put them into a bowl. This is for one pumpkin worth of seeds.
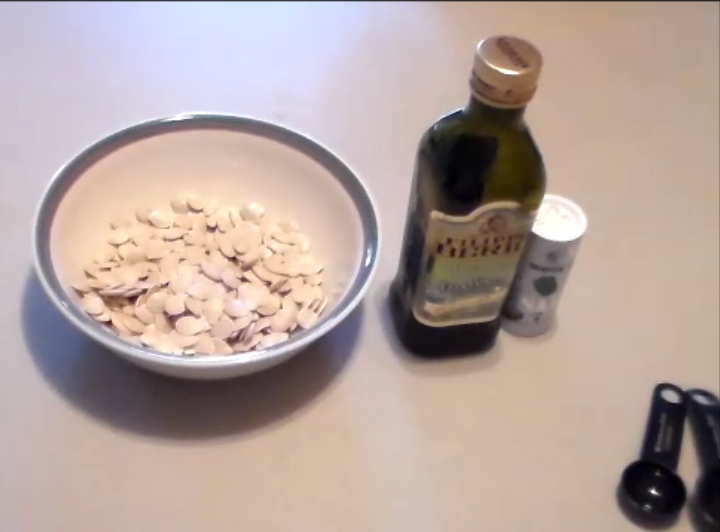
Add Olive oil and Salt
6 – Add 1 1/2 tablespoons of olive oil to the bowl and stir around. You want to get the olive oil all over the seeds. You may want to start out with one and see what you have. Then add some more.
7 – Add 1/2 tablespoon of salt to the bowl and stir around again.
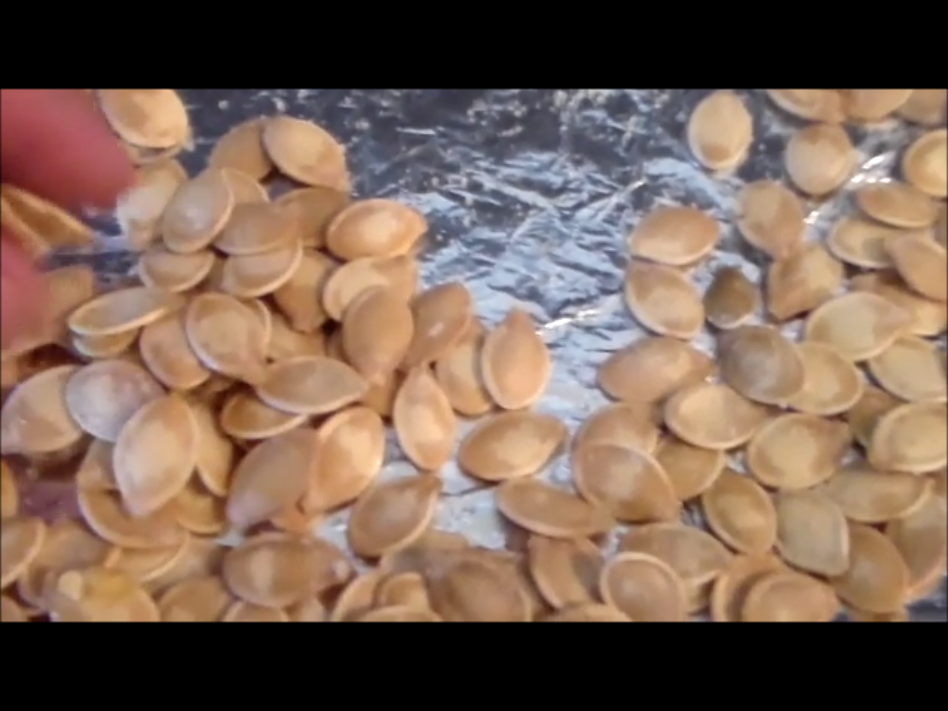
8 – Once you are satisfied that there is olive oil and salt on all the seeds, place the seeds onto a cookie sheet covered with tin foil. It does not matter if the seeds are touching, but it is best to spread them out.
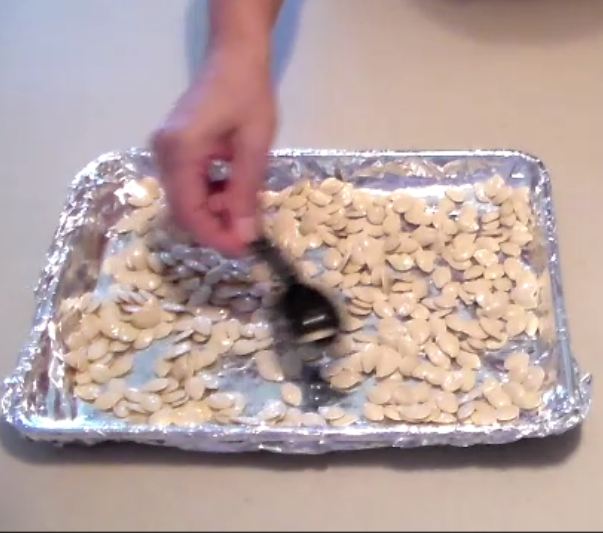
Spread out the Pumpkin Seeds on a tray
9 – Set the oven on BAKE to 225 degrees. Once it hits 225 degrees, put the tray in the oven.
10 – After 20 minutes, open the oven and pull the tray where you can reach it. Turn the seeds until you have moved and turned all the seeds. Put back in the oven.
11 – After another 20 minutes, pull the seeds back out and check. Check to see that the seed looks consistent without alot of oil on it. If it does, they may be done. Try one and see if it is crunchy. If it is not, or there is oil still apparent, put the pumpkin seeds back in the oven.
12 – After 10 minutes or so, they should be done or real close. This is where trial and error will take effect. If there are a lot of seeds, it may take a little longer, or if there are fewer seeds, a little less time.
13 – Now turn the oven off and put the pumpkin seeds back in the oven and let the oven cool down with the seeds in for another 15 minutes.
14 – After 15 minutes, take out the pan of pumpkin seeds and set out to cool.
Finished roasted pumpkin seeds
Don’t eat all these seeds at one time as it would be like eating sunflower seeds with the shell still on them. I am sure that a few won’t bother you too much, but beware of stomach pains. Also, I would not recommend putting these into trick or treat bags on Halloween night, as you might get some unwelcome responses. Good Luck and Happy Halloween!
WANT TO JUST WATCH THE VIDEO?