Simple Crab Cake Recipe
This is a version of another crab cake recipe that has all the basics, but not all the bells and whistles. Just to give some credit, here is a link to two other recipes that we used to make our own. Now these recipes have all the bells and whistles, so be forewarned! These were a basis, as well as another home made version.
http://www.tasteofhome.com/recipes/easy-crab-cakes
http://www.foodnetwork.com/recipes/ina-garten/crab-cakes-recipe.html
Crab Cake Recipe Ingredients
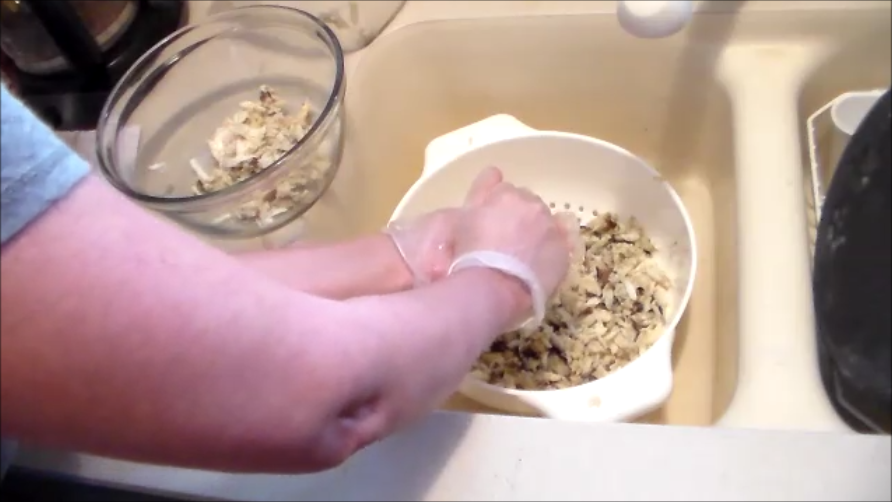
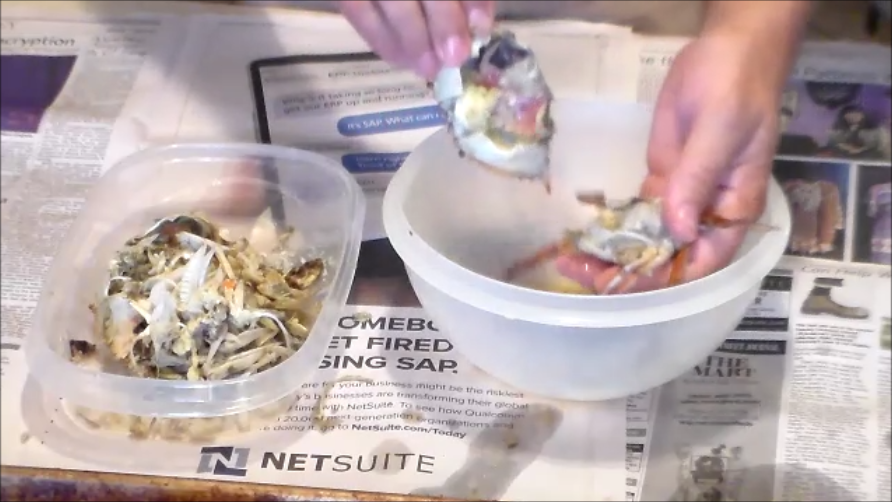
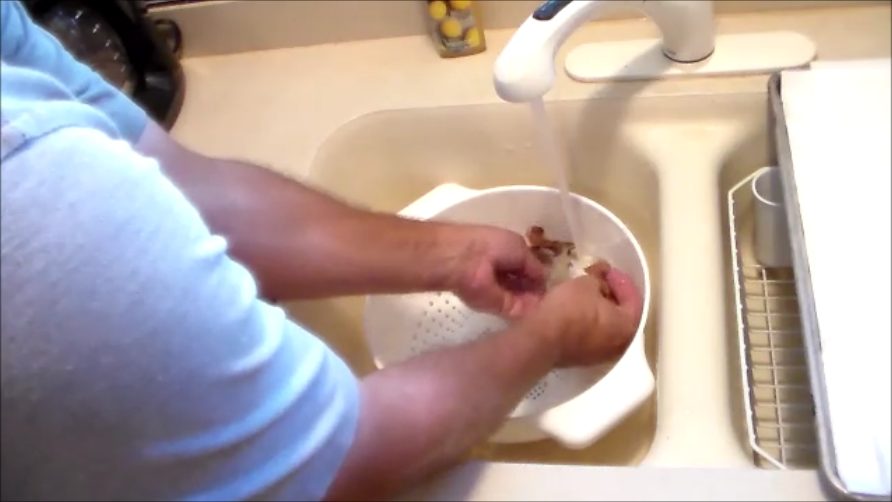
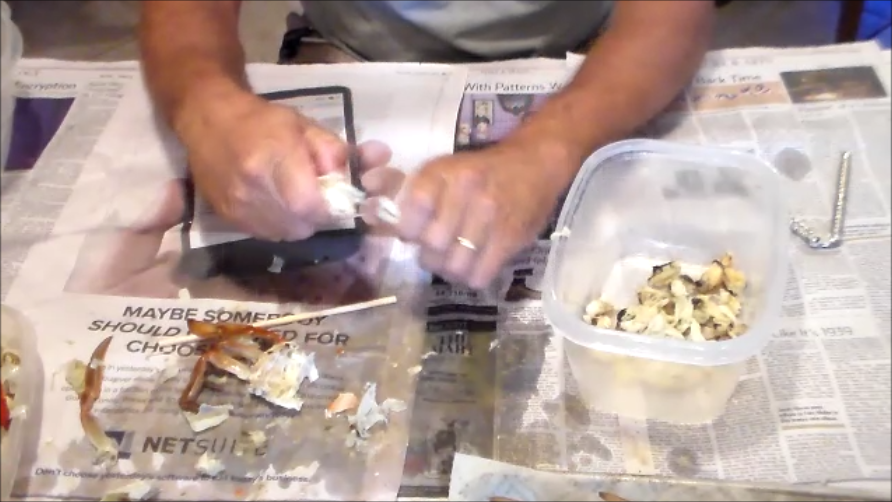
Draining the Crab Meat

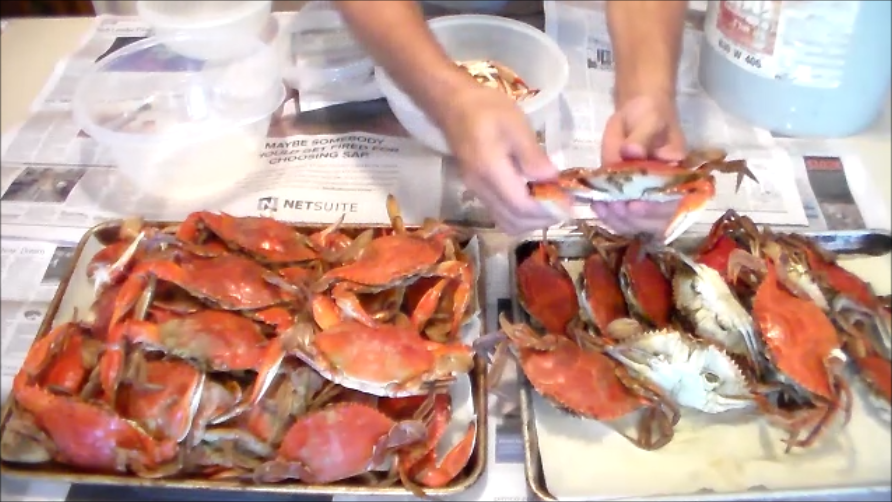
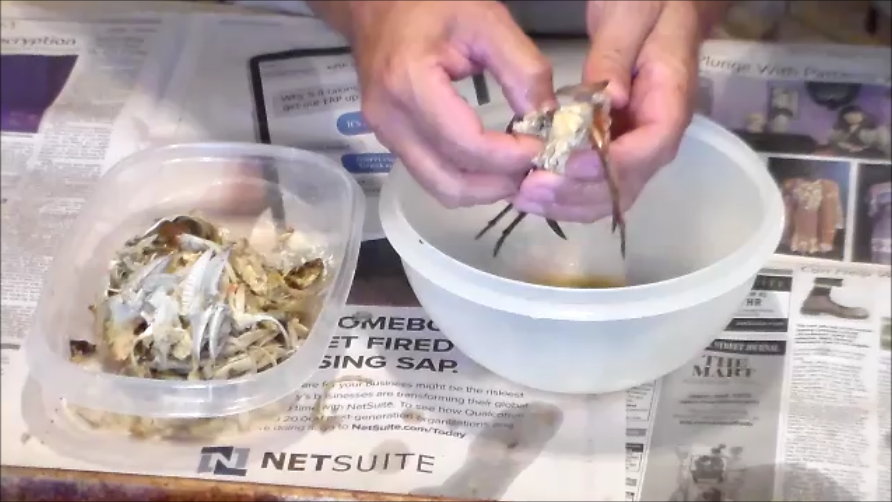
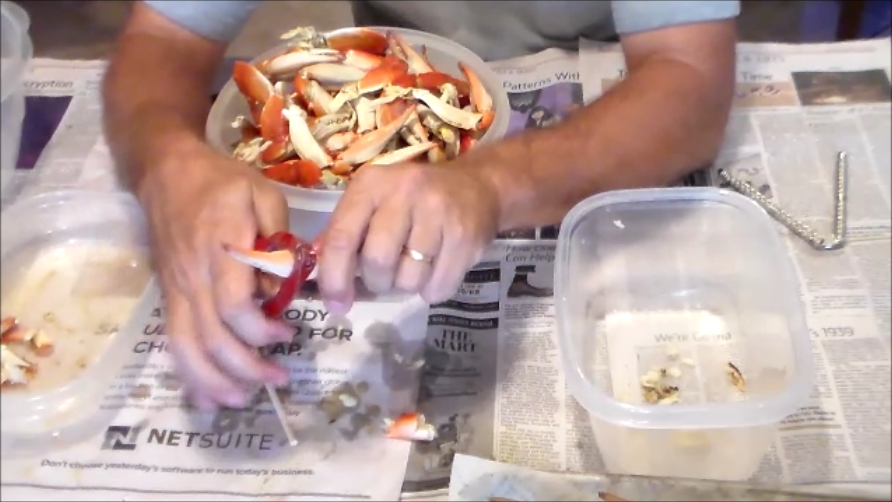
checking for more shells in Crab meat
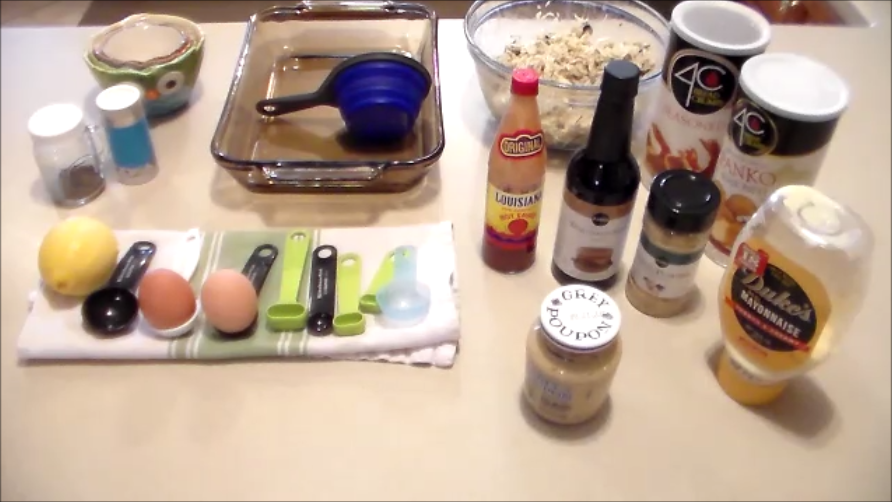
Our ingredients:
We had 3 cups of crab meat to mix and these amounts were great. We made about 11 really decent sized crab cakes.
1/3 cup regular bread crumbs (you will be using more bread crumbs for the outside)
1/4 cup mayonnaise
1 tablespoon lemon juice
1/2 teaspoon garlic powder
1 teaspoon Dijon mustard (or spicy brown mustard)
1/4 teaspoon black pepper
1/2 teaspoon Worcestershire sauce
2 eggs
1 or 2 drops hot sauce (we use Louisiana hot sauce, but there are many)
You will need more regular bread crumbs and Panko style bread crumbs (for texture) for the outside of the crab cakes.
1 – Drain the juice from the meat. Similar to what you would do to a can of tuna, if you were going to make tuna salad sandwich, you wouldn’t want it to be runny. At the same time, you can be checking for shells. We harvested our own crabs, and cleaned them for the crab meat, so we have to be extra cautious.
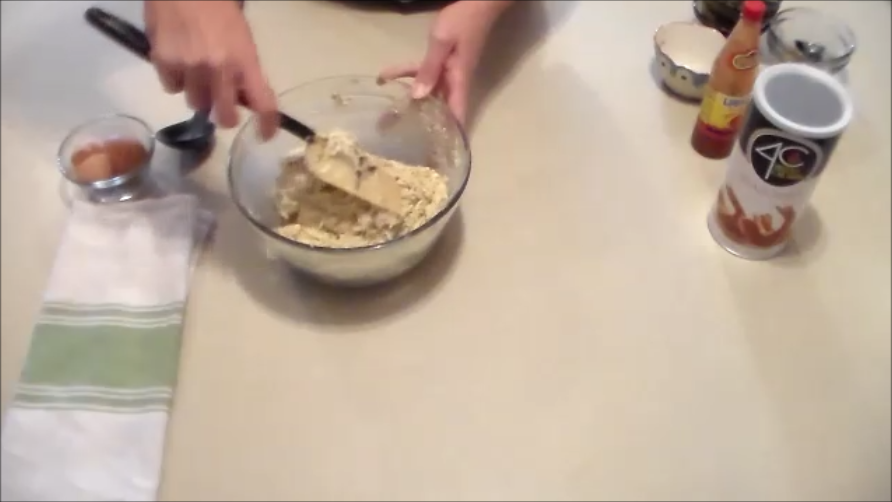
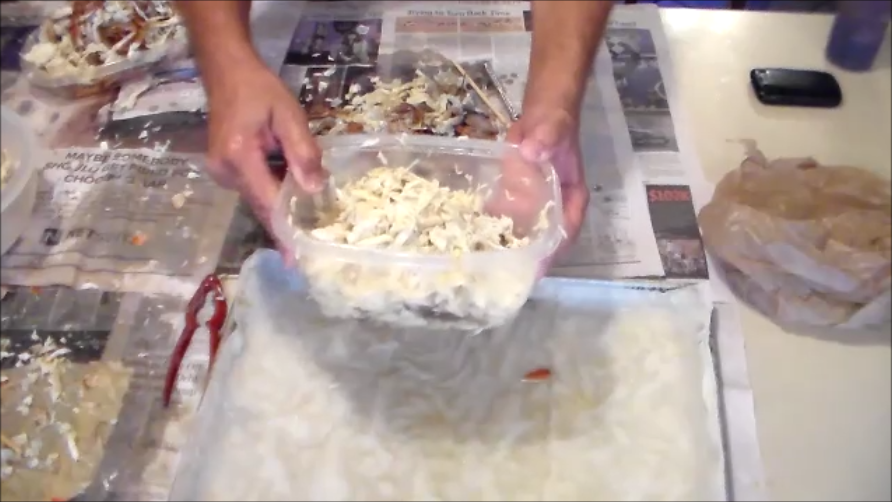
Mixing up the Crab Cake Mix
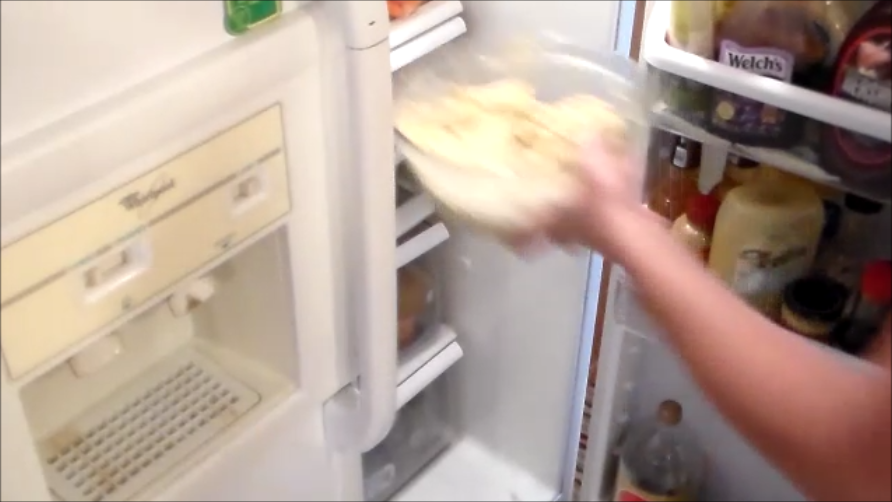
Put Crab Cake Mix in fridge
Forming the Crab Cakes
2 – Double check for shells. Just before you start the mix it is a real good idea. Even after we checked, double and triple checked, we still had a few shells in ours, so take your time!
3 – Start by adding the mayo, lemon juice, garlic powder, mustard, pepper, worcestershire sauce, and the 2 eggs. Mix it up a little bit, then add the bread crumbs and mix up good. Now add the 1 or 2 or none drops of hot sauce and mix again.
4 – Put this mix in the fridge for 30 minutes or more.
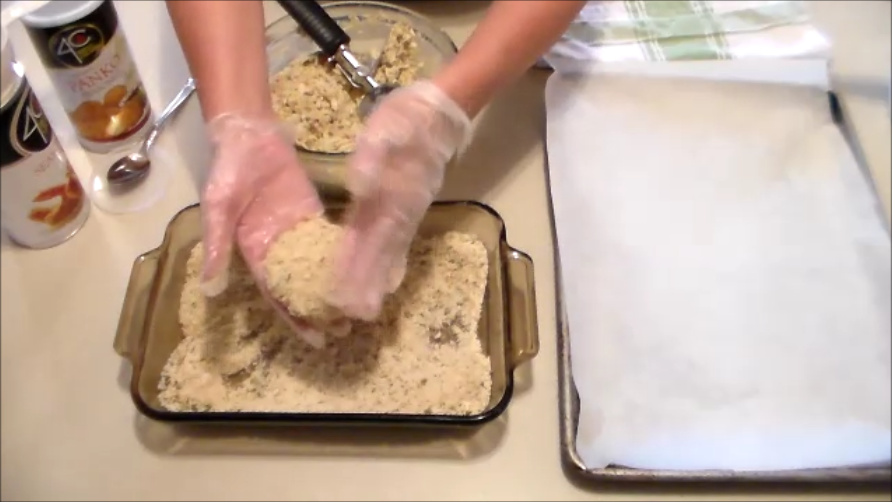
5 – Now take a cake pan or something with a little depth in it and add equal amounts of regular and Panko style bread crumbs. We used a full cup of each in our case. With a ice cream scooper, spoon, measuring cup, or your hand, get a lump of the mix and form into the “cake” that you want. I don’t think it has to look like a hamburger patty, but thicker is usually better as it holds together better. Thinner would break too easily. You may want to separate all the meat before you bread so you can see how many crab cakes you end up with. You may need to reduce the size a little to add a few crab cakes. I want to try making “crab balls” like hush puppies, but with crab meat inside instead of just salty paste like bread. I would cook crab balls in a deep fryer.
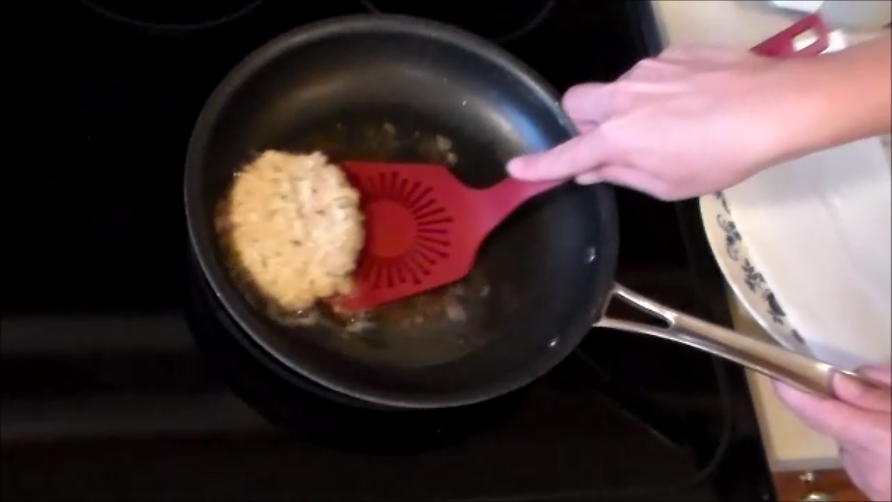
Frying crab cake in frying pan
6 – once you have used up all your crab meat, it is time to cook them up. If you are going to fry them in a pan, or in a deep fryer, it still takes 3 – 5 minutes to cook them. If you chose the “ball” style then a deep fryer is a must. If you cook them slow, they will cook all the way through without burning the outside. Trying to cook them fast will not do good, because you won’t cook the inside.
Frying pan – Put some regular cooking oil in the pan and cover the bottom. Now it is just like cooking a hamburger patty, put it in and let it start cooking. After a minute or two, check the bottom and if it looks good and brown, go ahead and flip it. Once you get both sides cooked, it will be a little easier to turn over. Slow is better than fast.
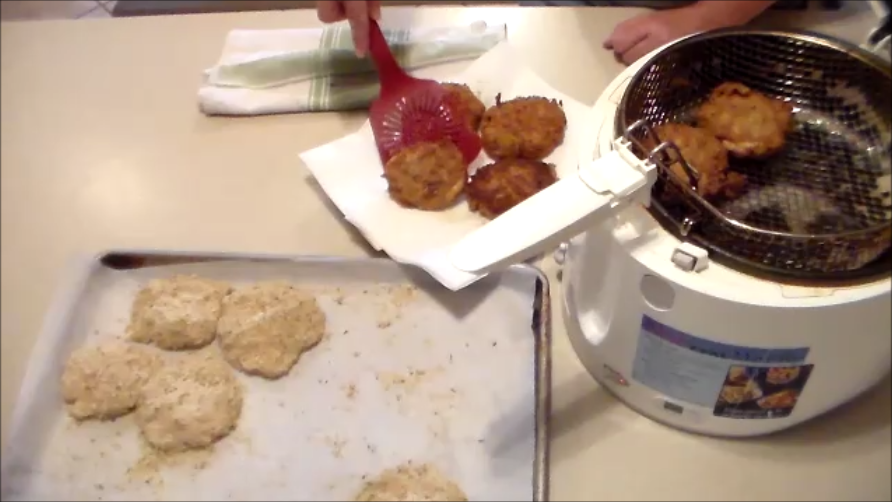
Frying crab cakes in deep fryer
Deep fryer – Don’t stack them on top of each other, lay them side by side. Cook as many as your tray will allow at one time. We set our fryer on 160 degrees and that was good.
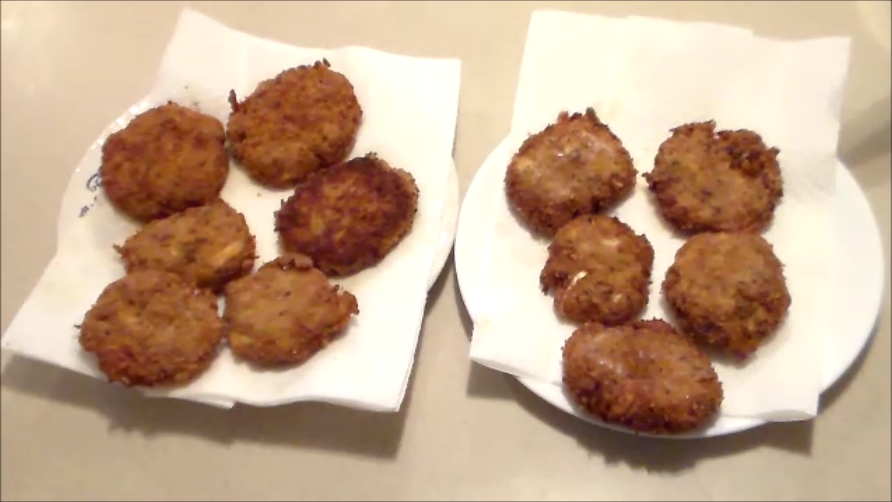
7 – Now just start piling them on to a tray (preferably with a paper towel) as they finish to let them drain. Pretty soon they will all have been cooked and it will be time to enjoy!
Once you have made these a time or two, then you can adjust the amounts of ingredients to your liking. I like to only add hot sauce for spice, then you can put more on it when you are eating it if you want.
JUST WATCH THE VIDEO!